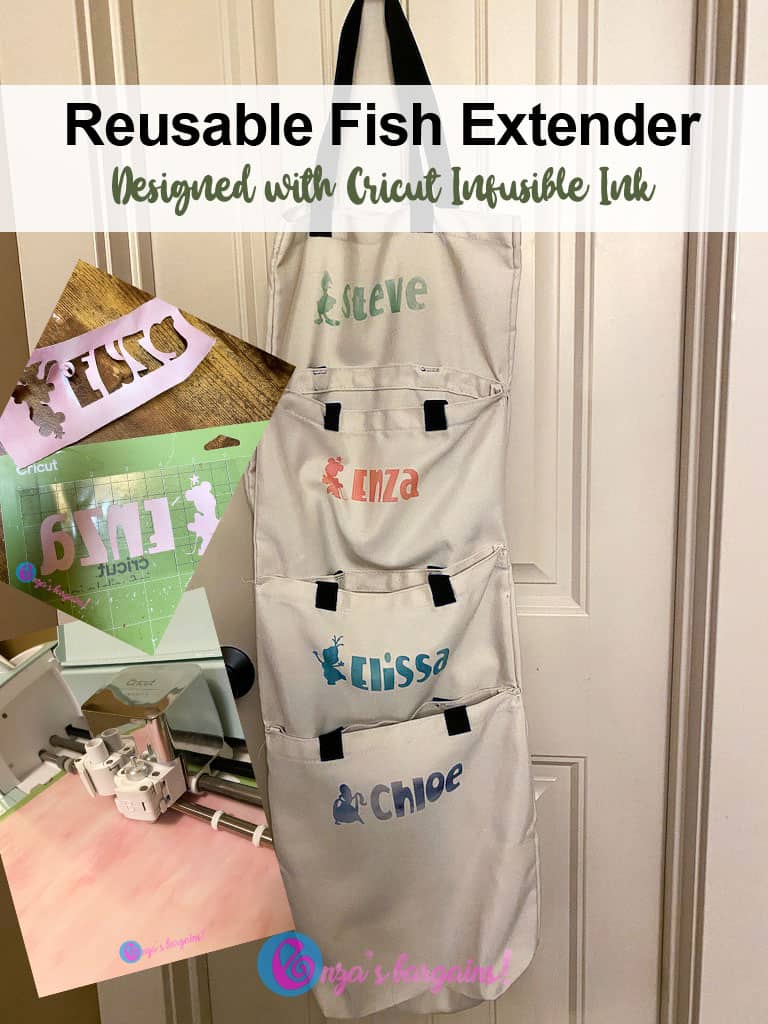
Are you thinking about participating in a Cruise Fish Extender Exchange? Have you ever wondered what in the world you were going to do with your Fish Extender once your cruise is over? Now you can create a reusable Cricut Fish Extender using Tote Bags. This is a great way to upcycle your extender and be ready to make a new one for your next Cruise. This post is sponsored and also contains affiliate links.
Going on your next Disney Cruise Line vacation and want to create a Reusable Cricut Fish Extender? Follow these easy steps using Cricute Tote Bags!
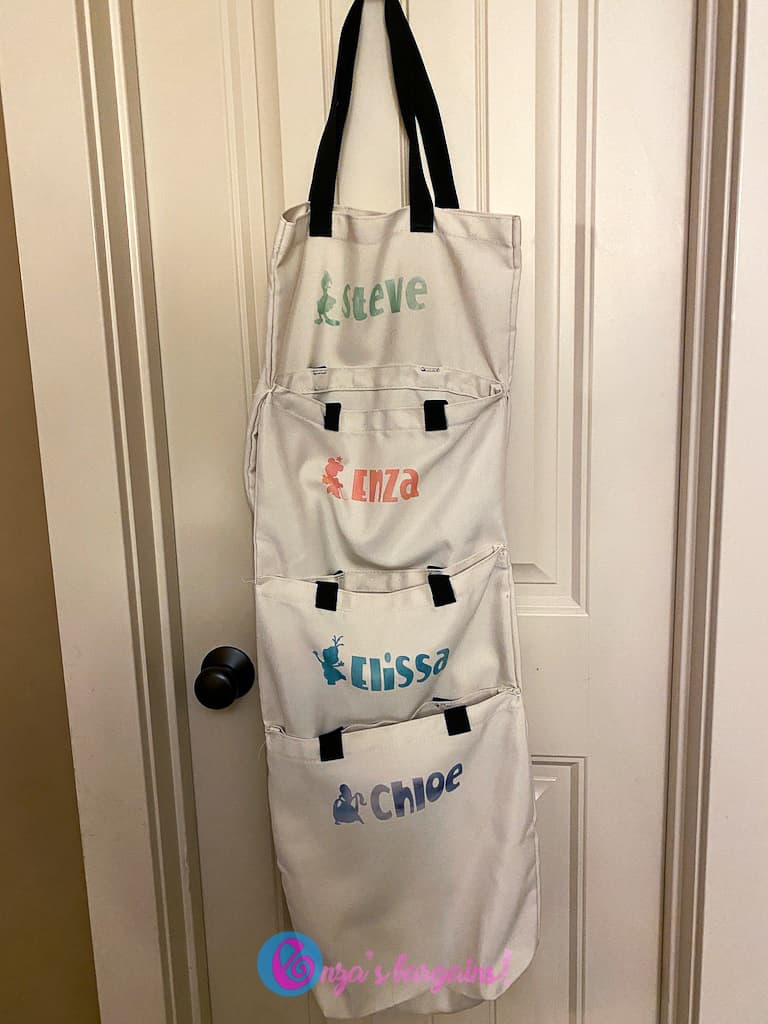
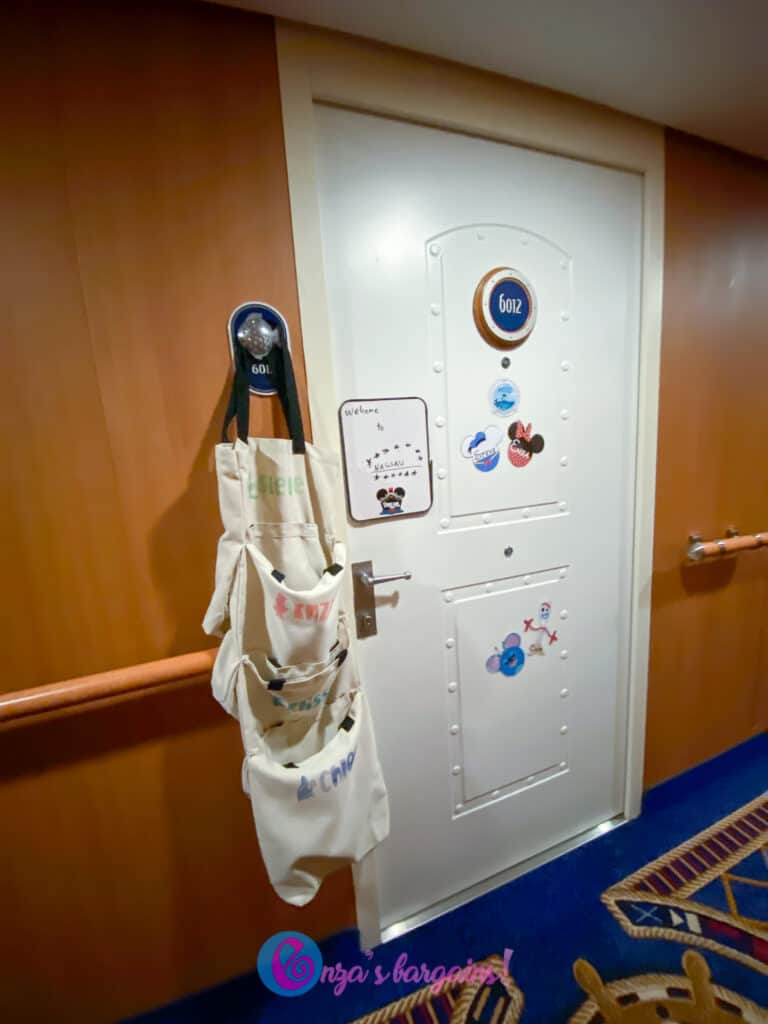
We came up with the idea of using Cricut Tote Bags and Infusible Ink to sew our bags together using a wide stich to hang outside of our Cruise Ship room for our Fish Extender exchange (I am not a seamstress and just looped my stitch through). We personalized each of our bags with our family member names and sewed them together. Once the Cruise was over, we easily cut the stitches and pulled the strings out to use our bags for all of our souvenirs and gifts that we collected on our cruise. After you create your Fish Extender, be sure to check out our most recent Fish Extender gift idea.
Reusable Cricut Fish Extender Idea
Here is what you will need to create your Fish Extender:
Cricut Medium Tote Bags for each member of the family.
Infusible Ink or Heat Transfer Vinyl to create your design.
Easy Press 2
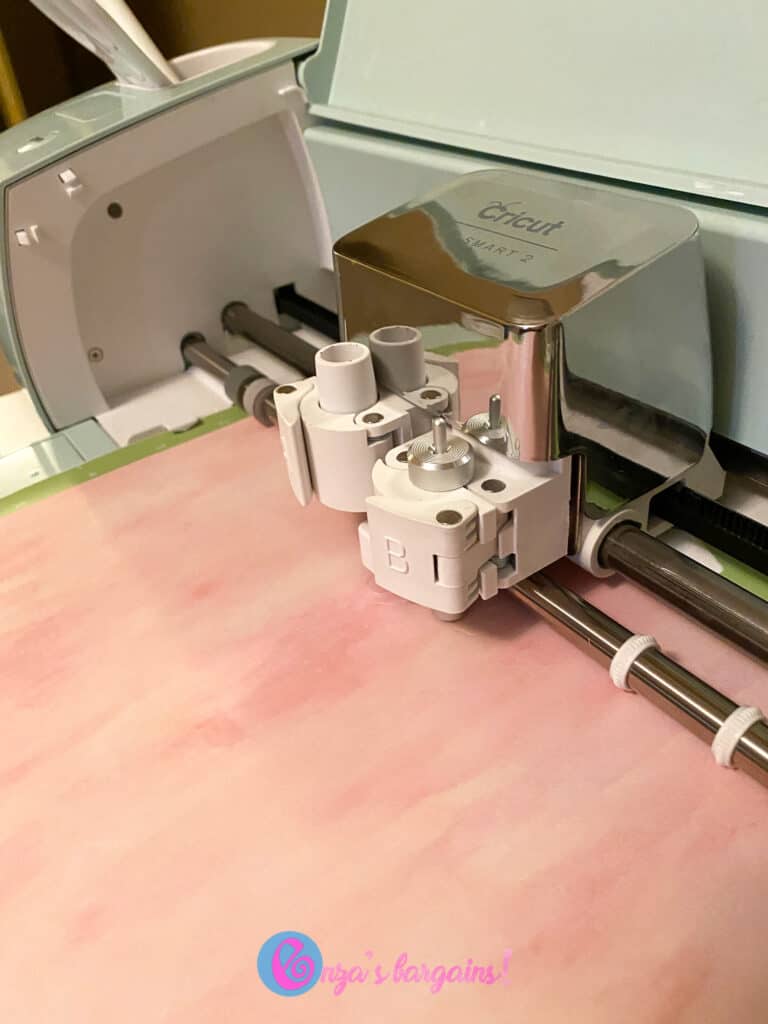
Cricut Explore Air 2 or Cricut Maker
Mat Board – Green
Weeding Tool
Cricut Rotary Cutter
Sewing Needle and Thread
Cricut images using Access (or your own images)
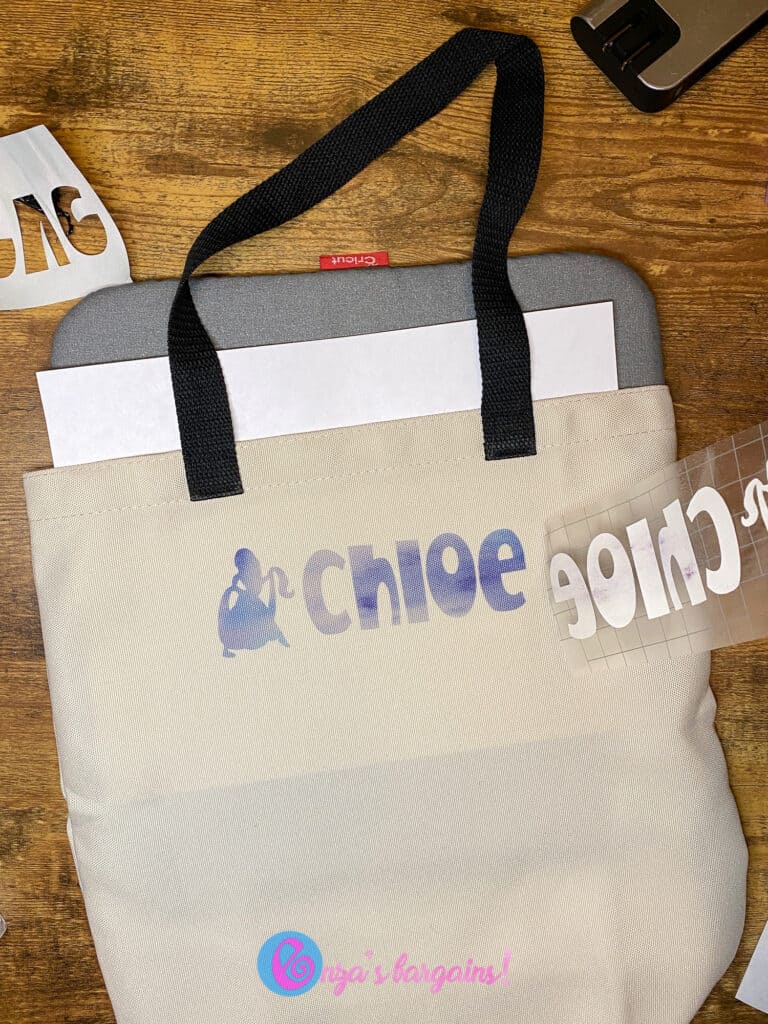
1. Create your design in Design Space. I decided to go with a simple design for this post but later plan to add more to it with some glitter HTV. You can find my current design and the characters that I chose to use on my Cricut Profile.
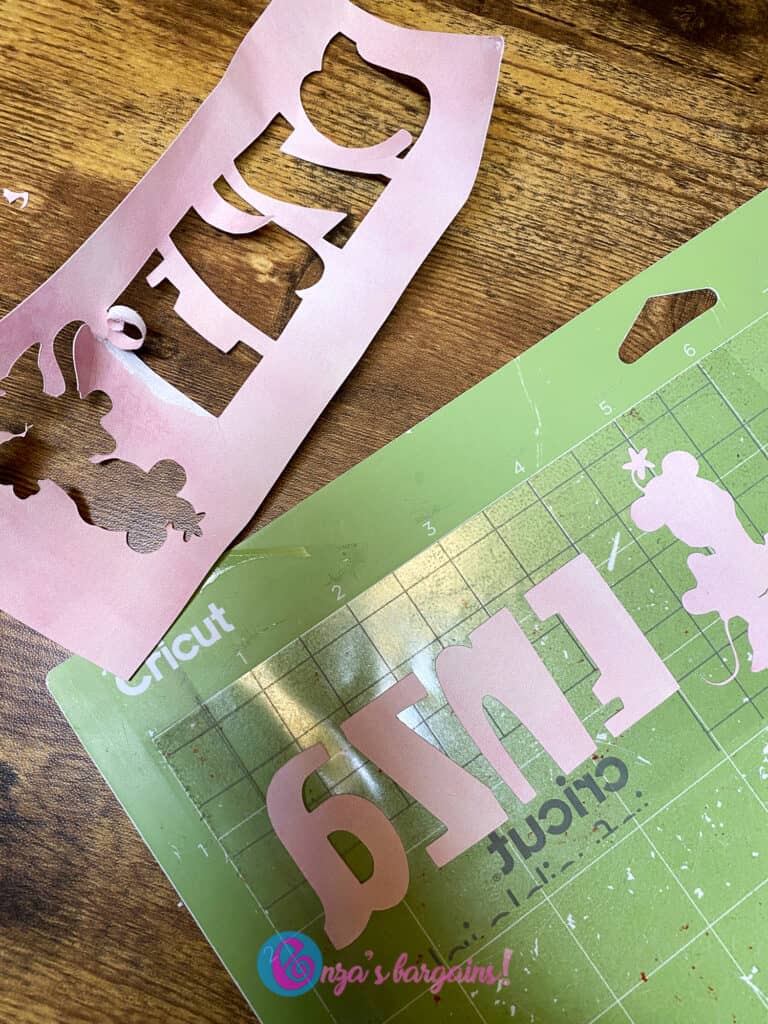
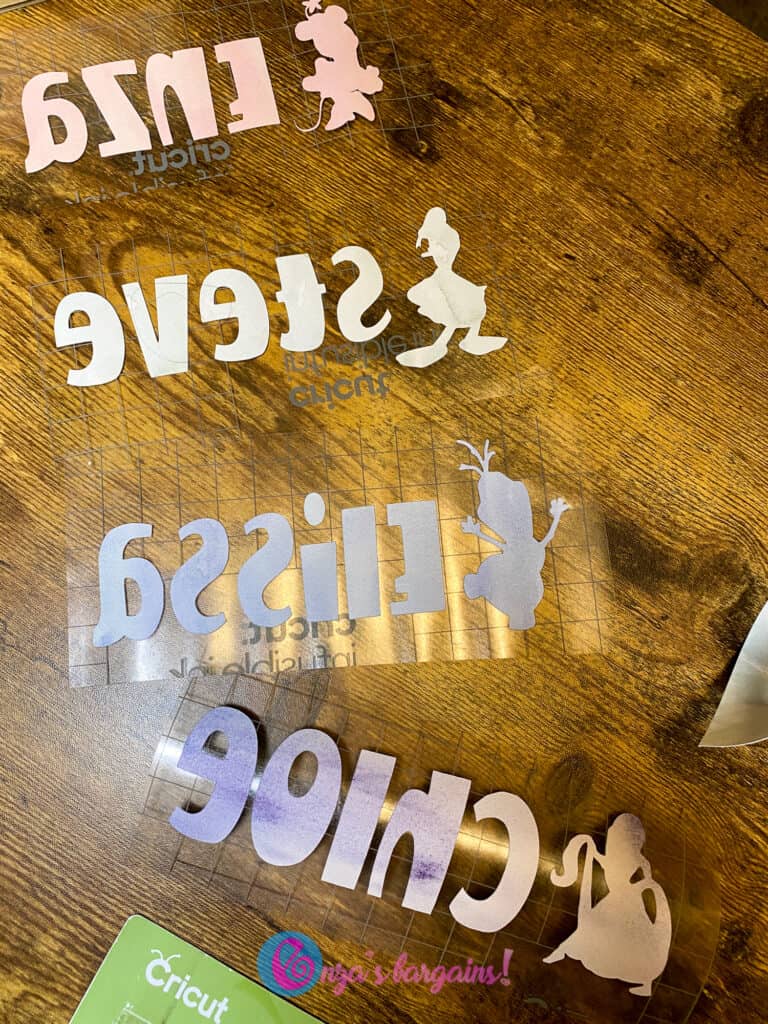
2. Using Infusible Ink or HTV mirror your image prior to cutting it with your Cricut Explore Air 2 or your Cricut Maker.
3. Once your image is cute use your Rotary Cutter and leave your cut image on your mat board. Save any unused vinyl or Infusible Ink Transfer sheets.
4. Weed your image and prepare to heat it on your fabric using the exact settings from the Cricut Heat Guide list.
5. Once you have created all of your family’s tote bags, it is time to sew them together.
6. You don’t need any fancy stitch but you will want to start out by sewing down the back handle to the side of the bag. Leave the top bag handles loose so that you can hang it on your Fish Extender.
7. Then you will want to use large stitches to stitch across the bag to attach it to the next.
Eventually your bags will hopefully be filled with awesome gifts and memories from your next Disney Cruise! Check out our review post from our recent Disney Cruise Line trip.
