This is a sponsored conversation written by me on behalf of Cricut. The opinions and text are all mine.
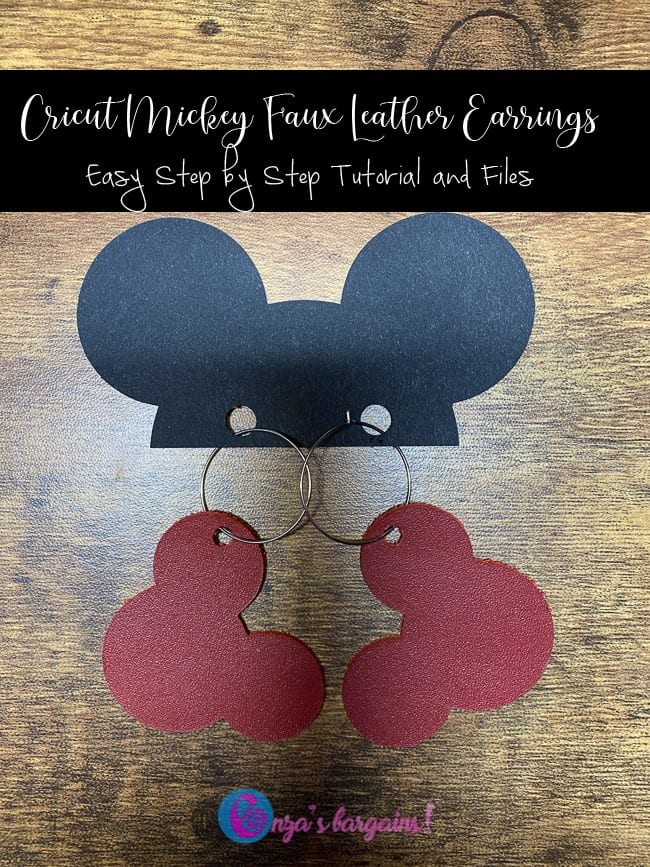
Are you looking for ideas on how to make Mickey Cricut Faux Leather Earrings with a Cricut Explore Air 2? It isn’t very tough and the end result is perfect for any Disney lover. The simplicity of Disney’s Mickey Mouse being only a few circles makes using your Design Space tools really easy. Even if you are just a beginner, you are going to love this project.
This post contains affiliate links and is sponsored. All opinions are my own.
Mickey Cricut Faux Leather Earrings with a Cricut Explore Air 2
Whether you are looking for something to wear to your next Disney trip or even a gift for a friend, making these earrings are sure to brighten up anyone’s day. I wanted to share all of the tools that I use to create these earrings and walk you through it step by step.
I found it VERY important to use only the Cricut Material when learning how to create earrings. The other fabrics I tried to use prior to this just didn’t cut as well and created a furry edge around the earrings. The Cricut genuine leather material is top notch!
Feel free to watch our tutorial video that we will include in the bottom of our post. After you create these Mickey Earrings you might want to get fancy and apply Heat Transfer Vinyl on Faux Leather earrings like we did for these Kansas City Earrings we designed.
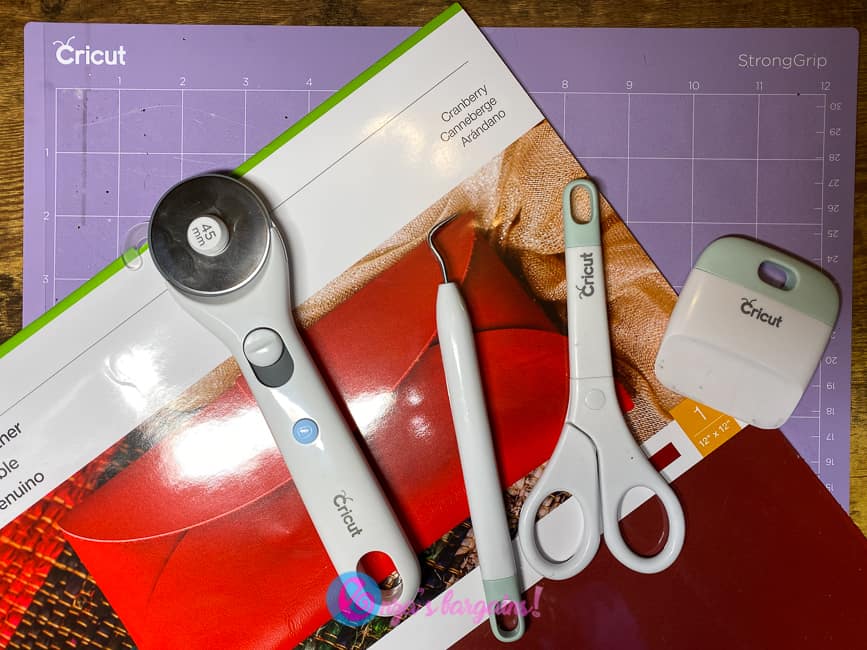
What you need:
Cricut Explore Air 2
Purple Strong Grip Fabric Board
Cricut Rotary Cutter
Painters Tape
Weeding Tool
Cricut Genuine Leather in Cranberry
Scraper
Fish hook with ball at the end or Earring Hoops
Design your Mickey earrings:
Here is my Cricut Profile Public design that you are welcome to customize on your own.
To make your own you will just use the shape tool to make one big circle, then one small circle. You can copy and paste your small circle to position your two ears.
After you have positioned your three circles to form a Mickey Shape, you will select all three shapes together and choose “slice”.
To make the whole where you will attach your fish hook, you will want to add a small circle over your sliced Mickey. Then select Mickey and your circle and choose slice. Select your sliced circle and delete or hide it from your Design Space.
Time to Cut:
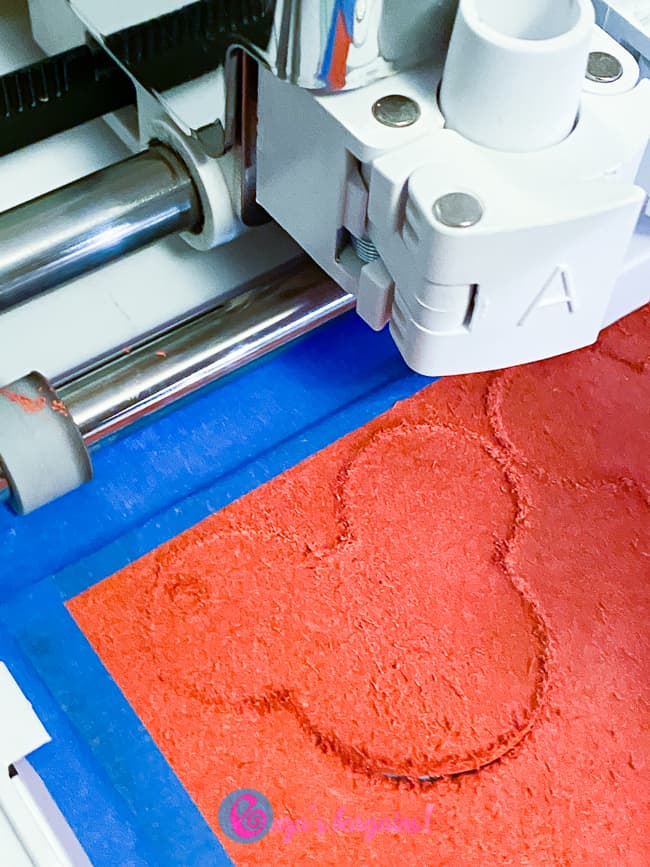
Place your cut fabric with the shiny side down. Tape down all four corners with painters tape.
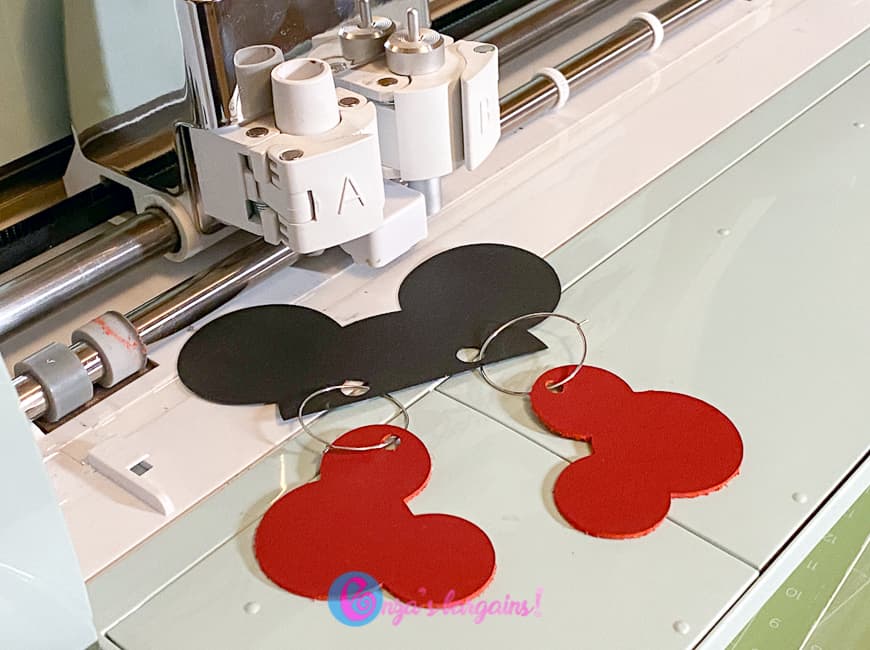
On your machine move the little white rollers (they feel like zip ties) all the way to the right side of your machine. Be sure your machine is turned off when you slide them over. This is important because your fabric is much thicker than vinyl and you don’t want it to move your fabric.
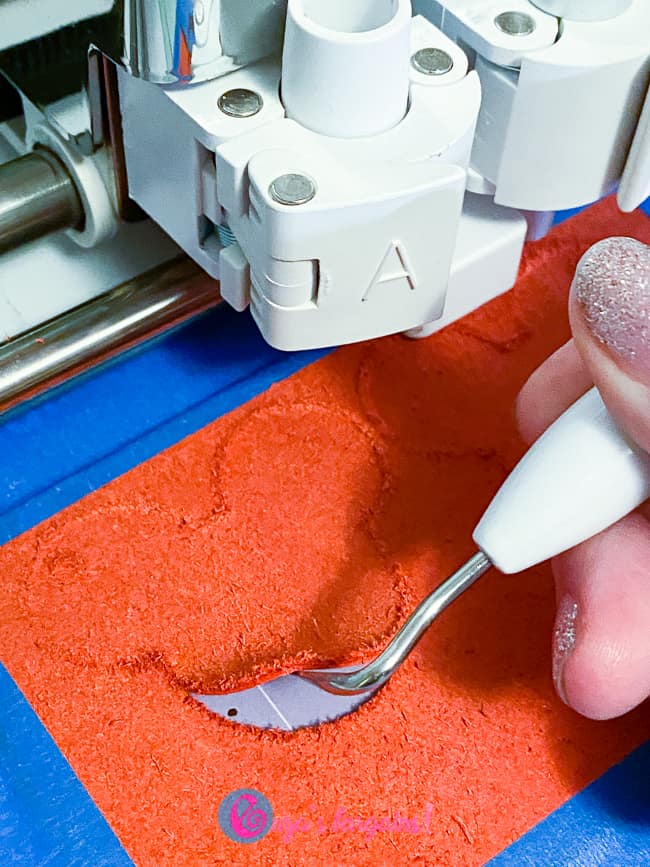
Choose “Custom Setting” and since you are using Cricut Material you can find the EXACT setting you need to cut the earrings. I choose “extra pressure” on my original blade but you can also try doing regular pressure and cutting it twice if you need to. Before moving your mat board after you cut your material, take a corner and see if you can lift it up. If it isn’t cut all the way through, just click the cut button one more time.
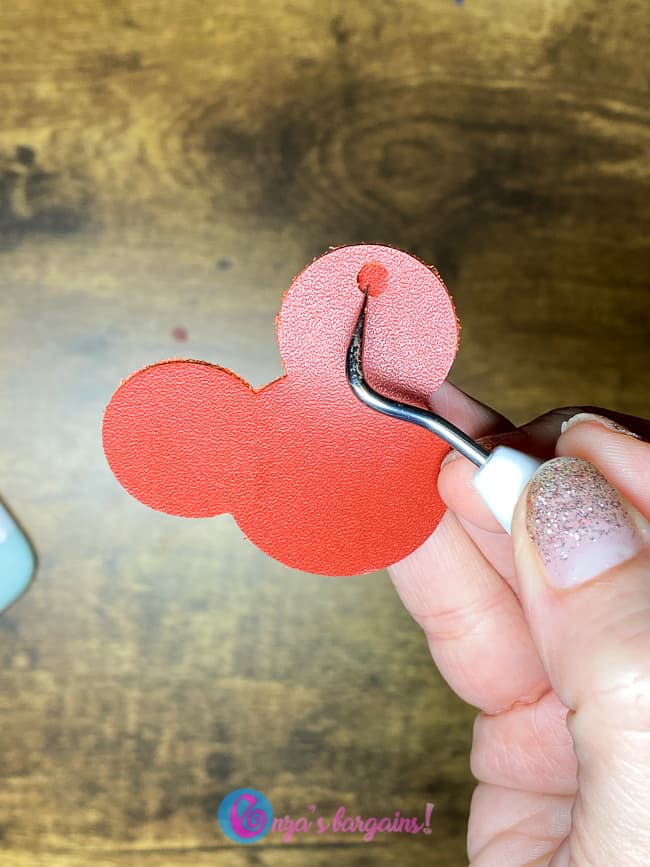
Using the weeding tool and scissors you might have to push the whole for the hardware to get the fish hook to go through. You can also use a fabric hole punch tool if you have it.
