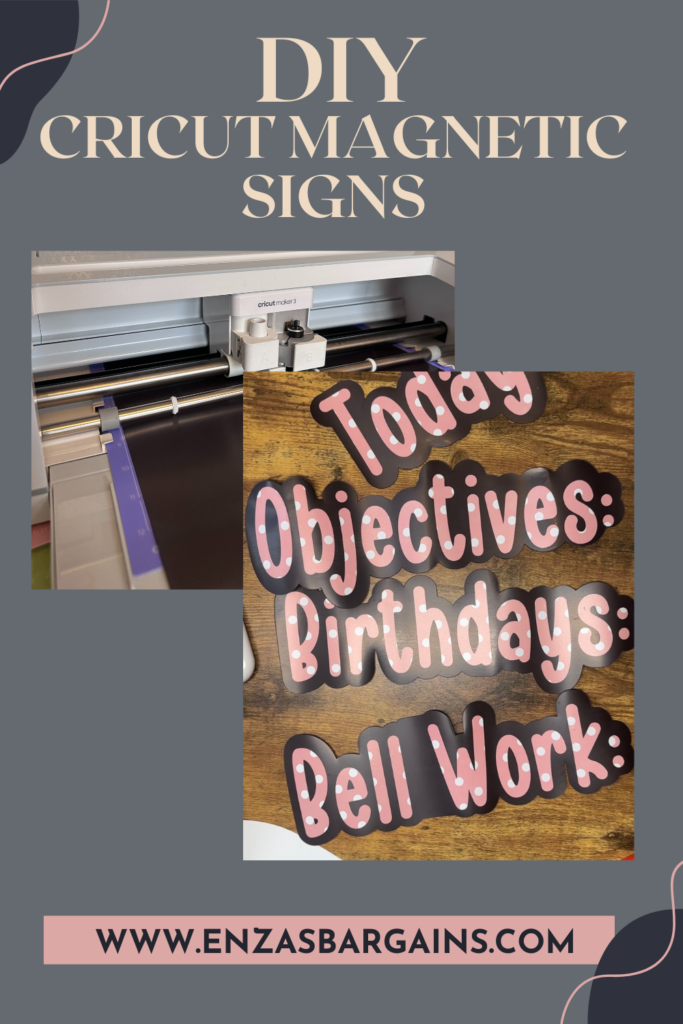
As a teacher, I love using my Cricut! I use it all the time and have even been known to take it to my classroom at times! I make bulletin board letters so easily by just typing what I want and hitting cut! Now my favorite thing I have made is my Cricut Classroom Magnetic Signs. I can easily move them around as needed.
This post contains sponsored affiliate links.
My new classroom theme is Boho/Farmhouse, so I wanted to make new DIY magnets again, and this time I wanted to document the steps to show you how easy they are to do.
I would have to say that owning a Cricut as a teacher has expanded my creativity so much along with helped me anytime I needed graphic organizers, cutters, rewards, gifts and so much more!
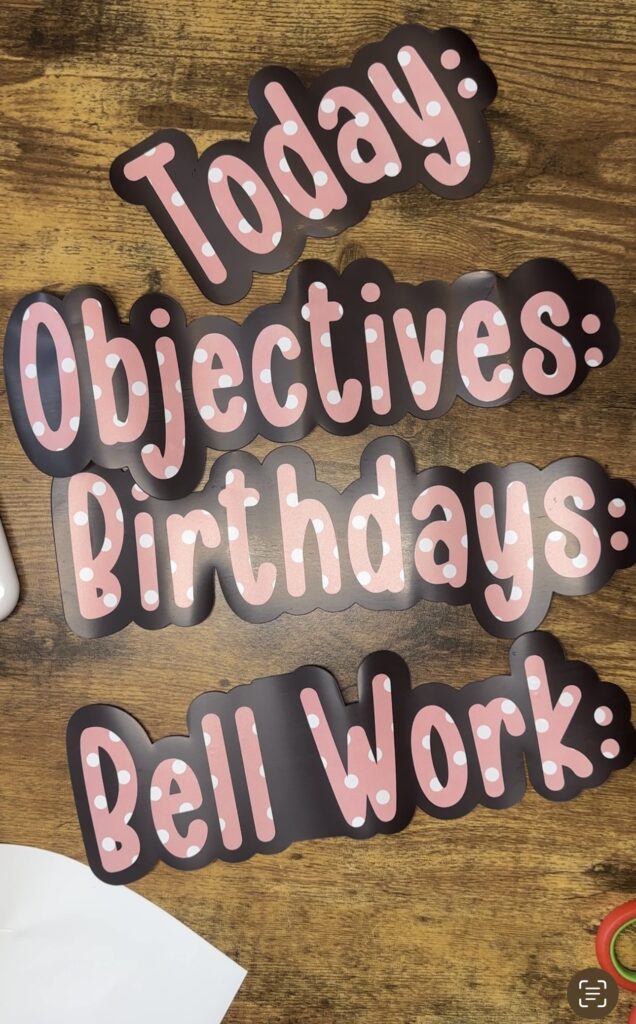
You can choose any font you want and using the offset for the magnetic part and then the vinyl for the letters gives it such a sleek look! I have seen other people just tape small magnetic strips but I feel like this way is better and your magnets are sure to last you forever!
DIY Cricut Magnetic Signs
First, you are going to want to decide what you like to keep on your board all the time. I use to have 1st Block, 2nd Block, etc.. but now the ones I use are Objectives, Bell Work, Birthdays, and Date. Decide what works best for you!
I have made these magnets before and I love them! I have even given some to friends! They are great for your whiteboards and making titles that you keep on your board. I only make the ones that I know I use. I realized last year that I make a To Do list for my students a lot and I didn’t have a magnet. I also noticed that I am terrible at switching the date every day so I skipped that one!
What do you need?
Cricut Maker: I would definitely purchase the bundles because since the Venture Machine was released the Makers went on sale!
Strong Grip Mat: You can save great money if you have Cricut Access!
Standard Grip Mat
Knife Blade
Roll of Flexible Magnet Sheets from Amazon
Regular Blade (Comes with Machine)
Permanent or Removable Vinyl
Transfer Vinyl
***BTS50: Free Shipping on everything at $50+ orders
How to create your design in Design Space for magnetics for your boards?
- Choose a font you like and type your words out.
- Group each word together and then click Attach.
- Then use the Offset to create a full area that will be your black magnet.
What Cricut Settings do you need to cut Magnet Sheets?
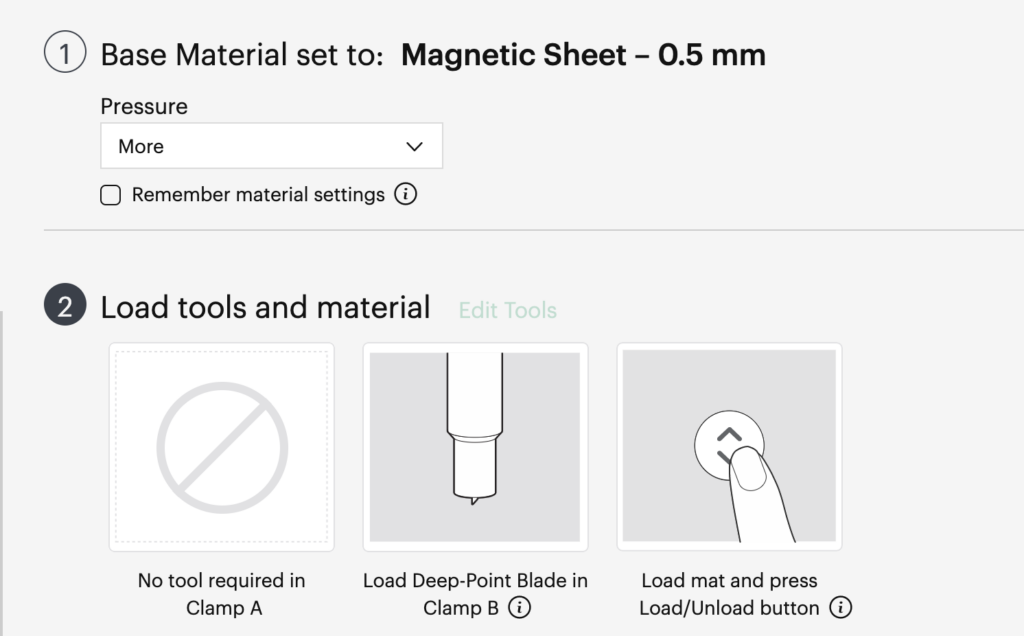
- Use the Knife Blade.
- Change your settings to the default .5 Magnetic Sheet. Use “More Pressure”.
- Use the Strong Grip Mat and use a brayer to make sure your material is on well. If your mat isn’t sticky enough make sure you have some new ones on hand or reinforce it with some painter’s tape all around.
- Cut the Magnet Sheet on the setting above.
- NOTE: When removing the magnetic sheets off the mat board, use the spatula! I ripped one of mine and wasted a magnet.
How to cut the vinyl that you will place over your magnets:
Then Cut your vinyl letters with the standard setting and Standard Grip Mat. There is no need to mirror it. You will use the regular blade and default setting for the regular vinyl.
Weed the vinyl after it cuts and use transfer tape to apply it to the magnetic sheets! You should have magnets that you can move around your whiteboards for many many years!
Would you like to watch a video tutorial? Is so you can check one out here.
Other Teacher Tips on what to use their Cricut Maker for:
First of all, I would suggest owning your own and not just for the classroom if you love DIY and Crafts! You will find you will want to design and create many personal things. As for your classroom, I provided a list of just a few of the things I have used my Cricut machines for.
- Magnets for your board.
- Bulletin Board Letters: You will never need to spend time punching out letters again and your fonts will be gorgeous!
- Bulletin Board Borders
- Vinyl Signs and Lettering! One time I asked for all the languages students speak at home and created a wall with the word kindness in about twenty different languages.
- Motivational Canvas Signs
- Gifts! Lots of Gifts
- Graphic Organizers and Other Classroom Materials: I made a cipher table for an Escape Room!
These are only a few things! I hope you enjoyed it!


Leave a Reply