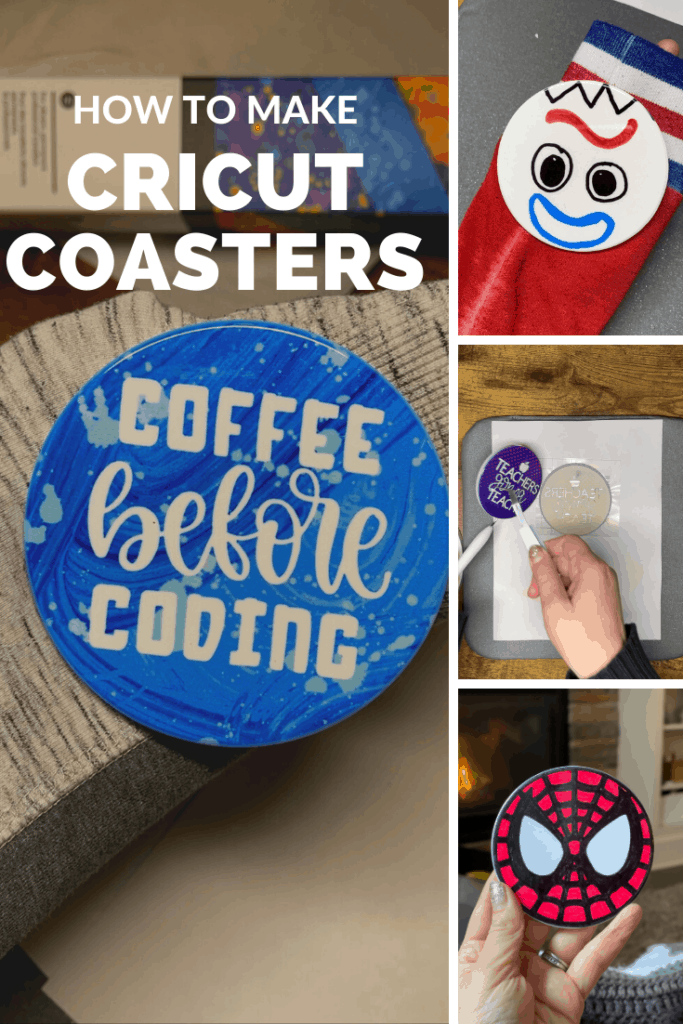
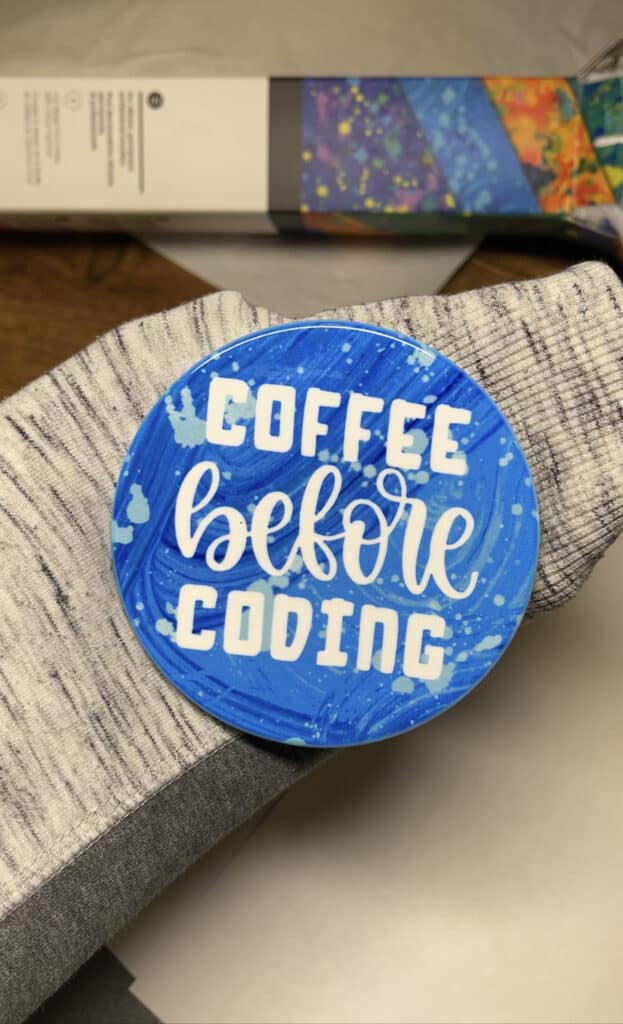
Here are a few steps that you should follow if you are wanting to know how to create a Cricut Coaster with Infusible Ink. I have created several of them but definitely deciding on your design is what you want to do first.
There are a few ways to make coasters. You either want Infusible Ink Transfers or Infusible Ink Markers or Pens. Depending on your design you will need to decide. I am going to share directions with you on how to create them first with Infusible Ink Transfer Sheets. This post contains affiliate links at no cost to you. It just means if you make a purchase we could earn a small commission.
How to Create a Cricut Coaster Steps
What you need:
Cricut Maker or Cricut Explore Air 2 (check out their bundle sales)
Infusible Ink Transfer Sheets or Infusible Ink Markers
Infusible Ink Coaster
Cricut Mat and Easy Press (size will depend on your design)
Heat Tape (to help keep your design in place a bit more)
Cricut Tool Set (weeder and scraper)
1. Create your design in Design Space. I have used the round coaster which are 3.6 inches in diameter. My favorite way to create a design is to make a 3.7 inch circle using Design Space Shapes and then adding my design over it and choosing slice. I found that the designed Infusible Ink Transfer sheets are so vibrant that I think it looks so sharp on the coasters.
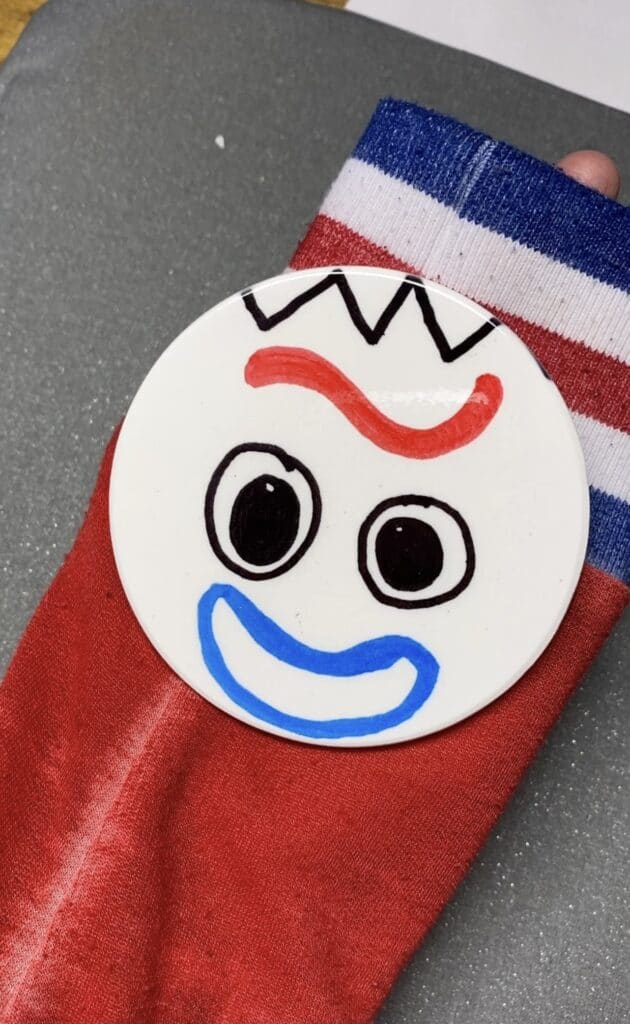
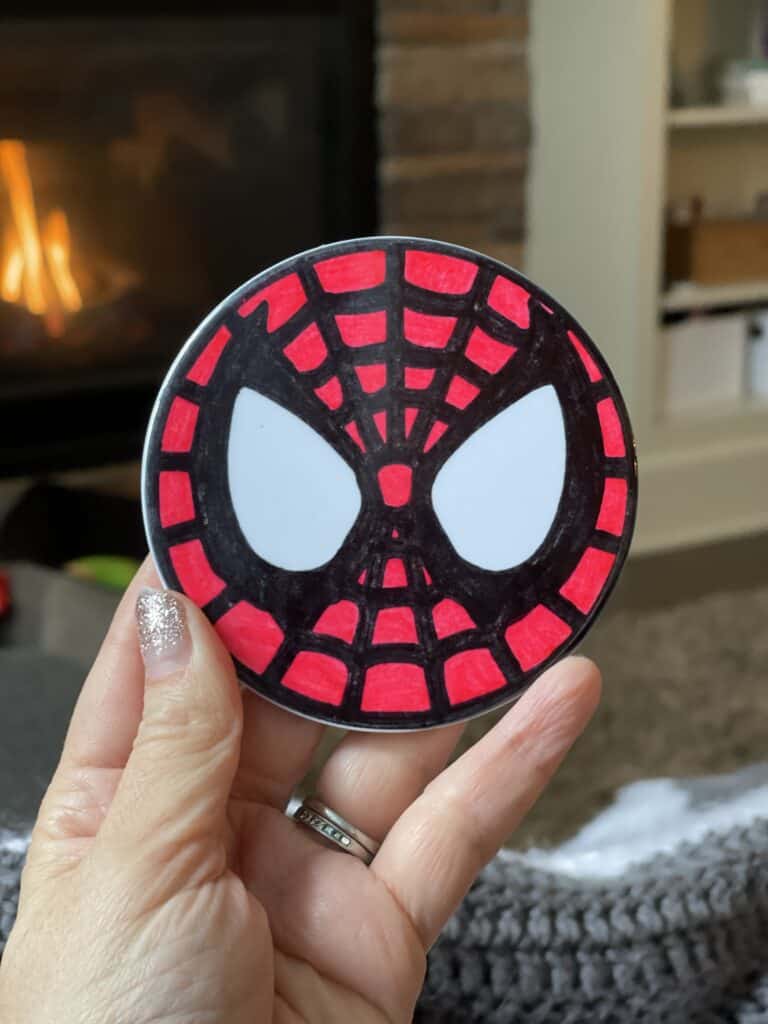
You can also use markers instead. Just know that your image will be reversed. I would suggest having your machine reverse draw any text and then color in the rest free hand.
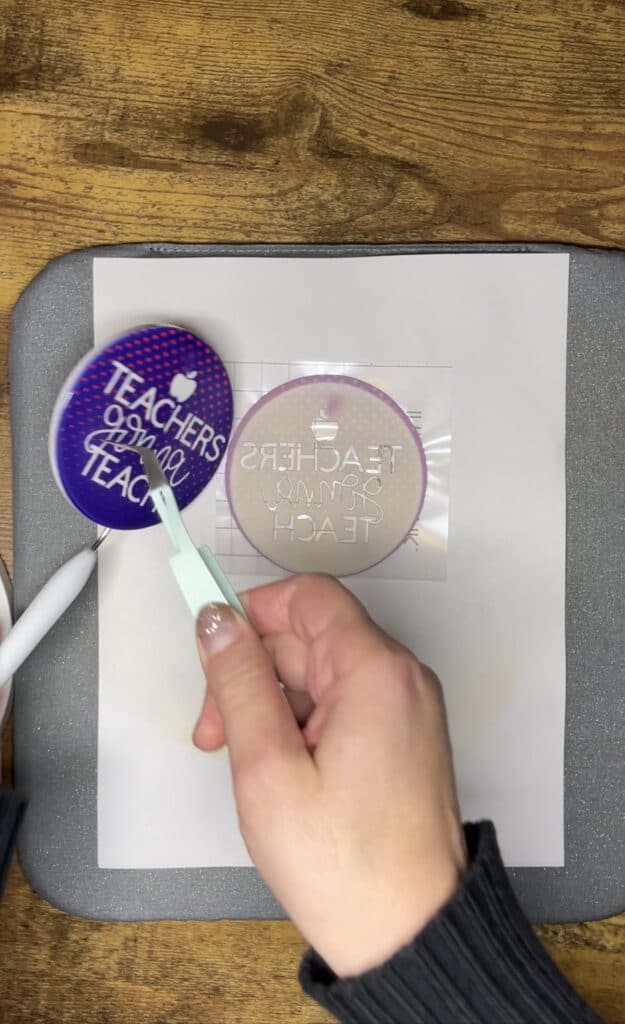
2. Now you have your design created and since you are ironing it on to your coaster you want to mirror it. Any writing or needs to be mirrored that is why I prefer not free styling my design with the markers alone.
3. Cut and weed your design. Be sure your hands are clean and don’t have any oils or lotion on them. If they do you might want to consider some gloves.
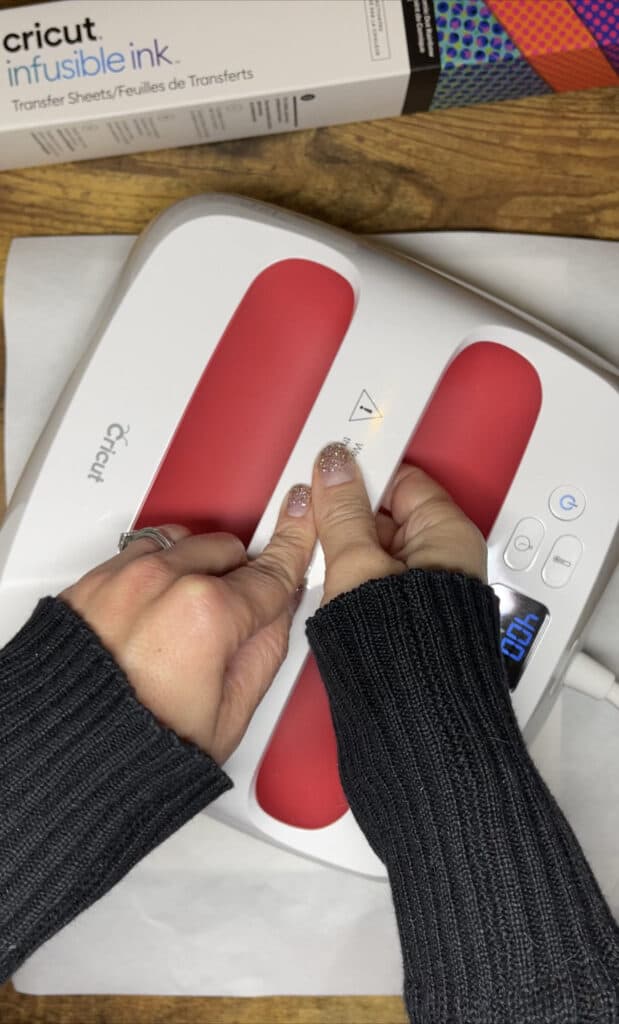
4. The ironing part is fun because you do not want to use an iron. You should use an Easy Press that covers your entire design. So if you have the mini and you are covering your entire coaster you will probably want to upgrade to a bigger size. Place the following items in this order on your ironing spot: Your Cricut Mat, 2 sheets of thick card stock, your design face-up (transfer sheet weeded), your coaster face down, butcher paper, then your Easy Press (be careful to NOT shift or move your design at all…be very steady when placing and lifting your easy press…if it shifts you will have a shadowed, or ghosted look, to your design.)
5. Heat your design for 400°F for 240 Seconds. Let it cool before touching and remove your coaster and design once it is cool.
If you enjoy making these coasters, you will probably love making our Reversible Sequins Pillows with Infusible Ink!
