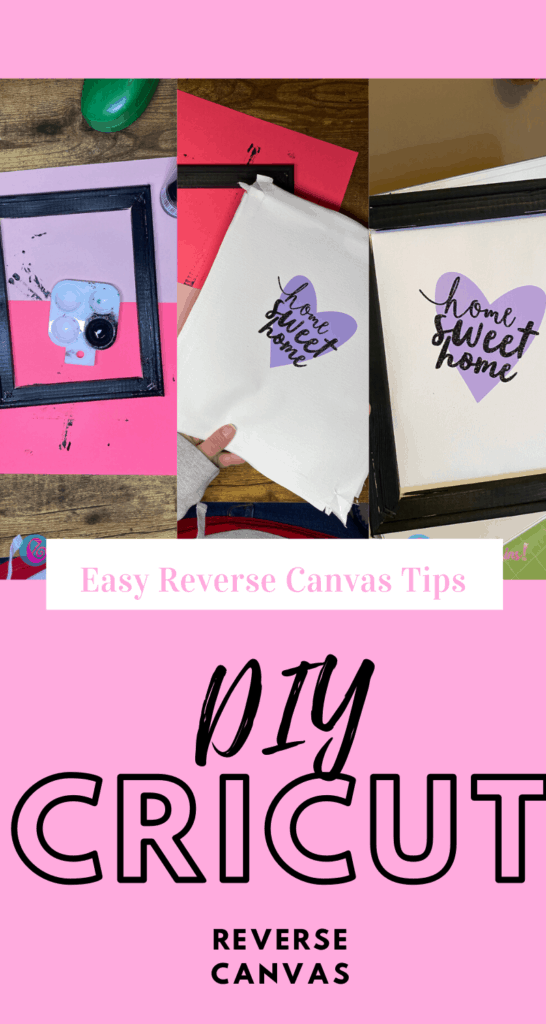
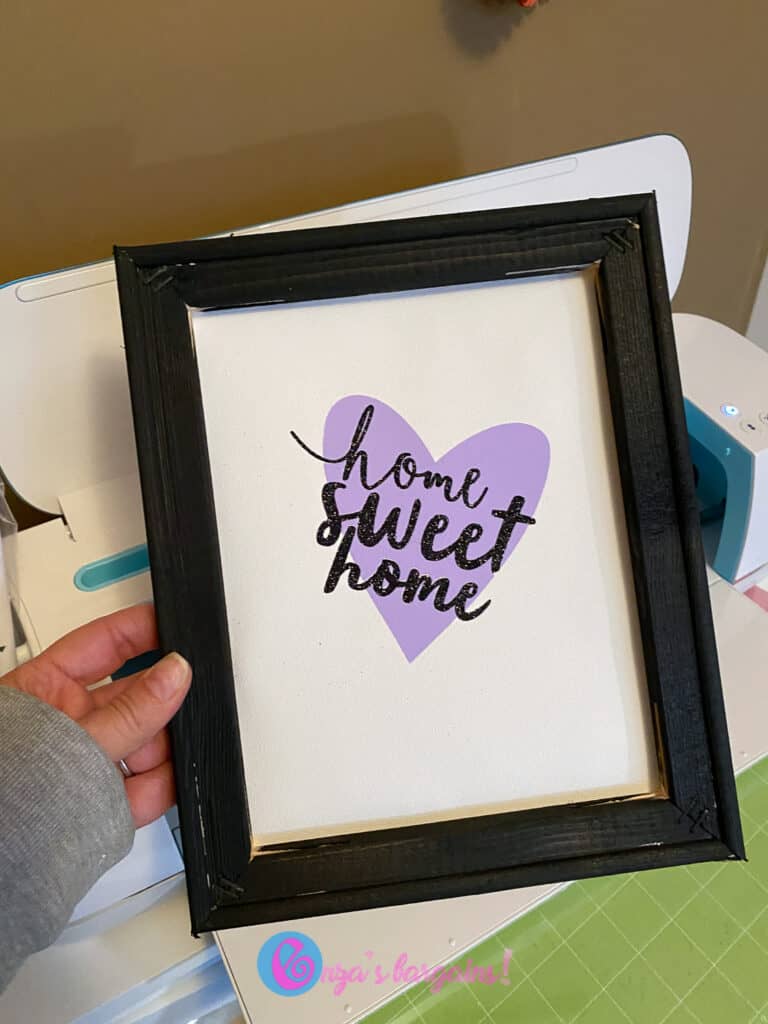
Are you looking on how to create a DIY Cricut Reverse Canvas? We finally found an easy and quick way to create one without having to go crazy and remove all of the staples. I wanted to create an easy step by step tutorial on how to create a DIY Reverse Canvas. This post contains affiliate links. At no cost to you, we might earn a small commission if you choose to make a purchase.
DIY Cricut Reverse Canvas
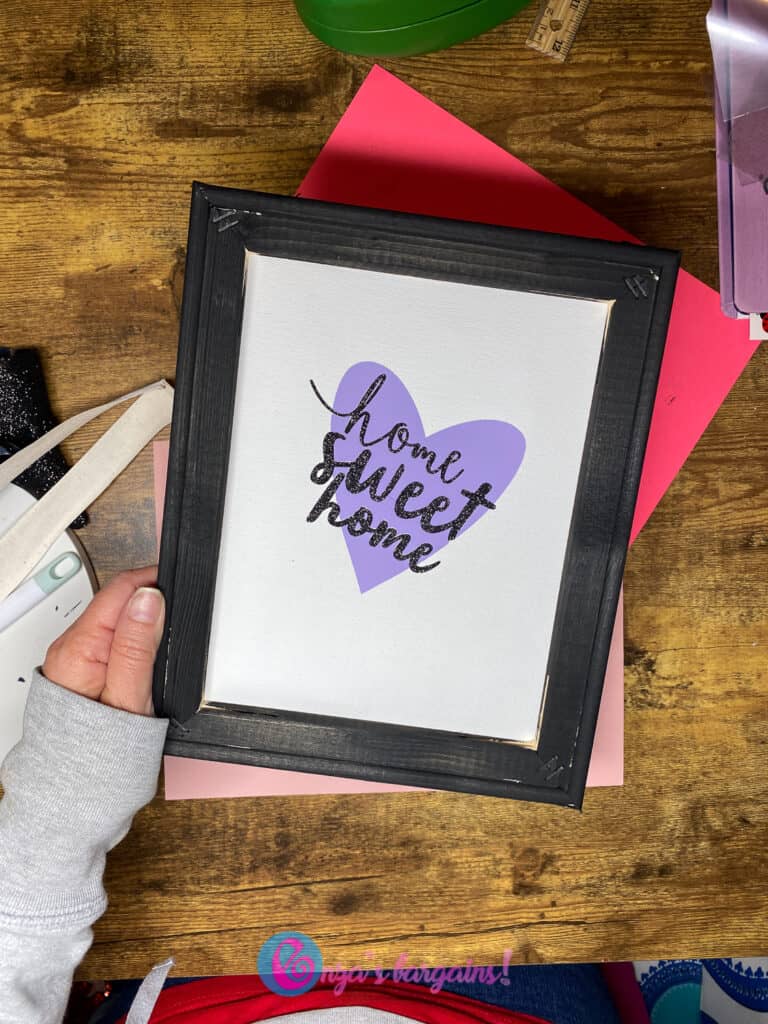
A Cricut Reverse Canvas is when you take a regular canvas that you might find at a home store and create a canvas iron-on picture inside of a frame. What you do is remove the canvas that is usually stretched on the front of the frame. Then you iron on your design and staple it to the back. This allows for the nice framed look on your design. It actually becomes quite fun and addicting and it makes for great gifts! If you don’t have a Cricut and are thinking about purchasing one, be sure to check out our Cricut for Beginners tips.
What you need:
Cricut Maker or Cricut Explore Air 2 Machine
Green StandardGrip Mat
Cricut Rotary Cutter
Basic Tool Set
Cricut Access
Scraper
Iron-On
Canvas
Design from Cricut Design Space
Easy Press 2
How to remove the canvas from the frame:
Turn your canvas to the back side. Use the Cricut Rotary Cutter to slice the canvas off. Stay close to the edge of the frame. I would suggest using a cutting mat under it. It is easy to accidentally slide the Rotary Cutter and you don’t want to cut your desk or table (trust me, it happened).
Take the canvas fabric off the frame and pull of the strip still attached to the frame.
Paint or Stain the Frame:
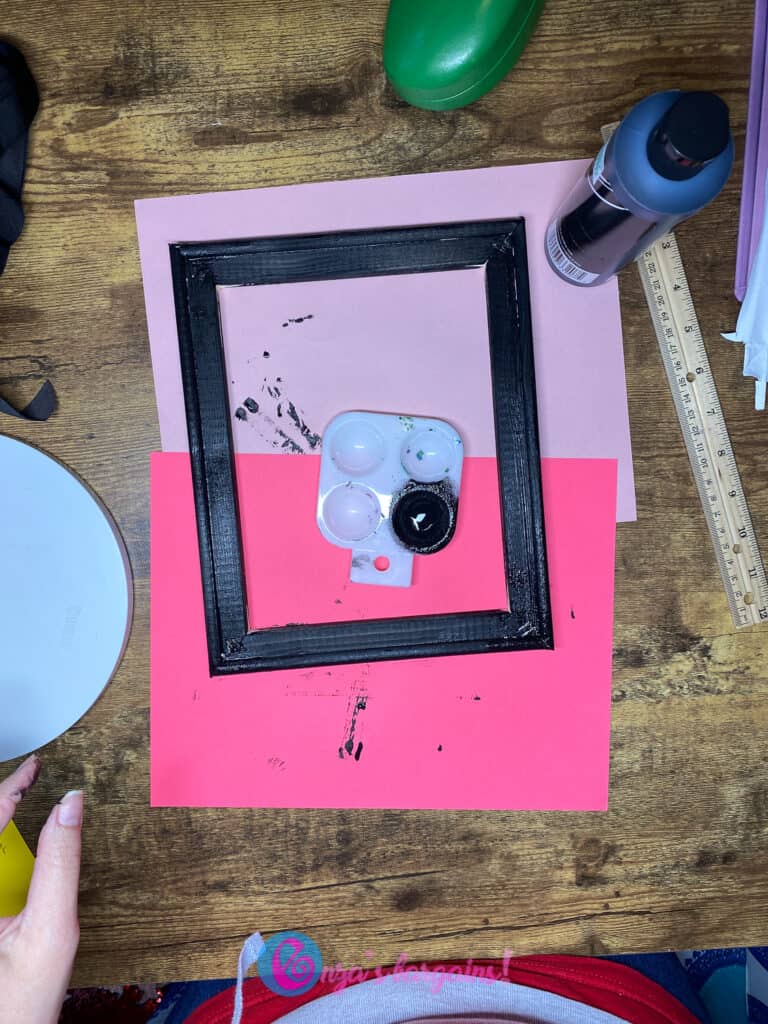
Paint your frame any color you would like. You can stain or paint it. You can also use dark brown paint and a baby wipe to give it a stain look without the paint.
Create and Cut your Design Using Cricut:
Cut and weed your design using your Green StandardGrip Mat from Cricut and your weeding tools. We used the free image with Cricut Access. We are loving all of the designs available on Cricut Access because it gives us an easy starting point.
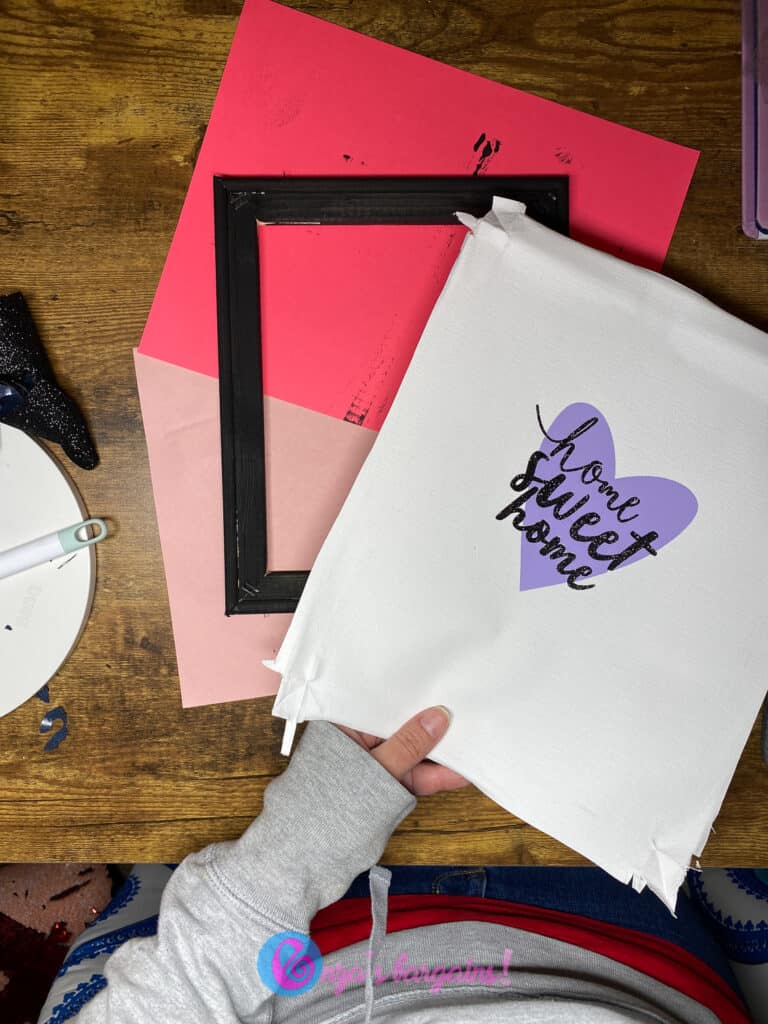
Heat your canvas for 5 seconds at 330 degrees. Then, iron your design for 30 seconds at 330 degrees. The settings could change based on the type of vinyl you are using. We used Everyday Iron-On and Glitter Iron-On.
How to attach your canvas back to the frame:
Then using a regular stapler, you just staple the canvas back on the other side of the frame.
