I have been asking for a Cricut for about two years now and needed my own Cricut Tips for Beginners so I started taking notes.
I didn’t realize how many items I needed and wanted to just brand my business. Not only that but I LOVE personalized gifts, so being able to make some gifts and t-shirts without having to run to the print show is pretty fun!
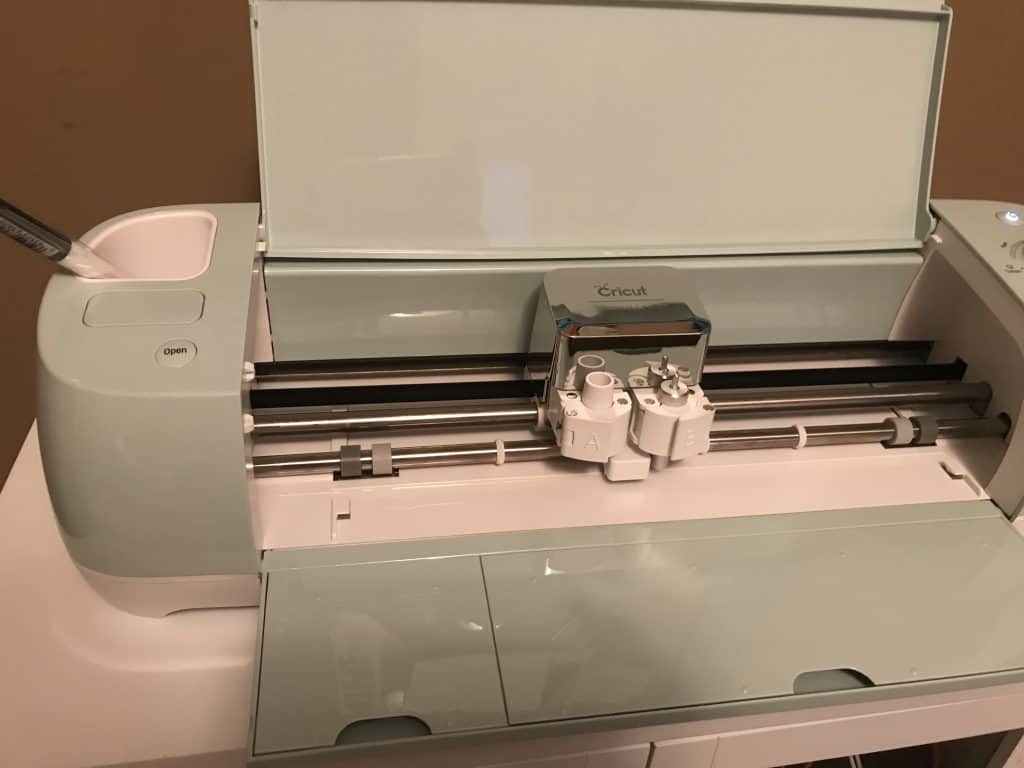
When my husband bought me a Cricut Air 2 for my birthday I was surprised and excited! Since then I have been learning to use it and I do realize that I definitely had to do a lot of searching for advice before I could get started!
Update: Now since I started doing tutorial videos everyone keeps asking for Cricut Tips for BeginnersCricut Tips for Beginners so here is this post! These were the notes I started making when I started using my Cricut. The terminology was confusing at first but the learning curve is fairly quick when you stick to wanting to make something and just learn one thing at a time.
I had to search for directions because it didn’t come with directions and I have had to make several trips to the store to buy different materials because everything you make needs something different! So I decided to write out these Cricut Tips for Beginners since I myself am considered a Beginner!
This post contains affiliate links. At no cost to you, if you decide to make a purchase we earn a small percentage.
Cricut Tips for Beginners
What is everything I NEEDED to Get Started:
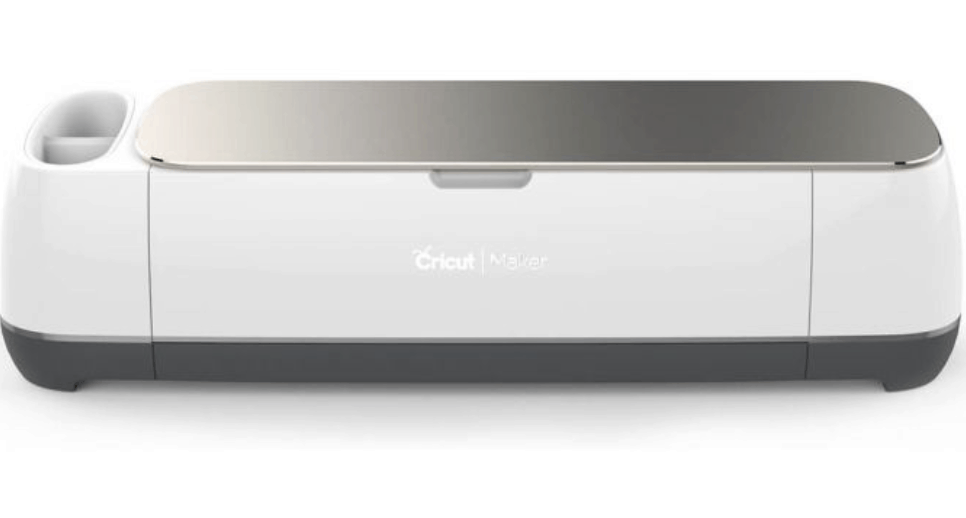
- I needed a Cricut Machine! I have the Cricut Air 2 in Mint and I LOVE the color and everything about it! You can get the Cricut Maker which has some additional features that the Cricut Air 2 doesn’t have! You can cut a lot more material and it has a lot more attachments including engraving tools and perforated tools (Single Scoring Wheel Tip, Double Scoring Wheel Tip, Engraving Tip, Perforation Blade Tip, Debossing Tip). Find the Cricut Maker tools today!SALE: The Cricut Maker is the cheapest I have seen it! Cricut.com often offers free shipping! Check the top of their website for codes!

- You need to TOOL SET like the Essential Tool Set. The little tools actually help you carve around each detail to get rid of the straps. Any font, cursive, or images, are going to need to be carved out in little spots called “weeding” that your little fingers’ nails won’t be able to get without ruining your material.
- Each TYPE of material needs a different board. You need different Cutting Mats for each type of material. I ended up purchasing each one separately after I couldn’t figure out why my heavy card stock paper kept ripping and getting stuck to my Standard board. You need Standard for your Iron-On and your Vinyl. You need Light for your Cardstock and Paper and thing stuff like tissue! Then you need the Strong Grip for fabrics and other materials. The Cutting Mat Set has them all and even an extra long board that you might need!
Here is a better breakdown with links for you.
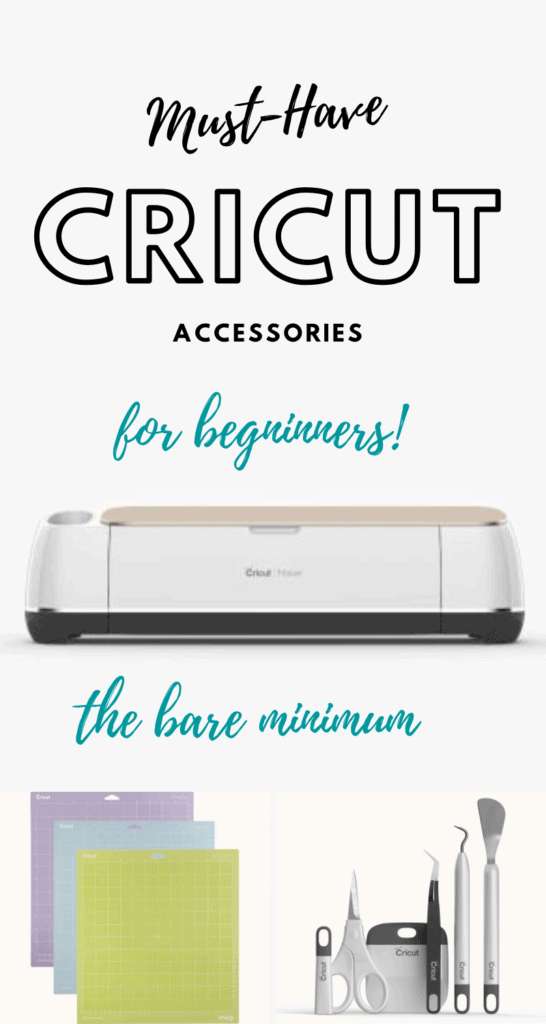
What are the must-have Cricut Accessories:
We get asked all of the time what are the MUST-have Cricut Accessories when purchasing a Maker or an Explorer. Here is what I think you NEED to get started.
- Besides your machine, you will want at least two of the 4 different types of mats: The Blue LightGrip and the Green StandardGrip Mat. The blue is what you will use for your paper and cardstock, the green is what you will use with your regular vinyl. There are some exceptions if you are using glitter card stock you might end up needing the StrongGrip, but I am just sharing the must-have right now.
- The second accessory you will want is the Took Kit. I love the Gray Basic Tool Set, but you really want the spatula and the weeder, if you are looking to go even simpler than a Basic Tool Set.
You can also get the Cricut Maker, it is a bit of an upgrade but the machine alone can also cut thin wood making for even more fun projects! I love this Cricut Maker Bundle that comes with mat boards, tools, and some vinyl! Get started and you won’t want to go back!
How to Get Started:
Once you have your machine, it is time to get started!
1. Plug in your Machine
2. Go to Design.Cricut.Com and Sign Up
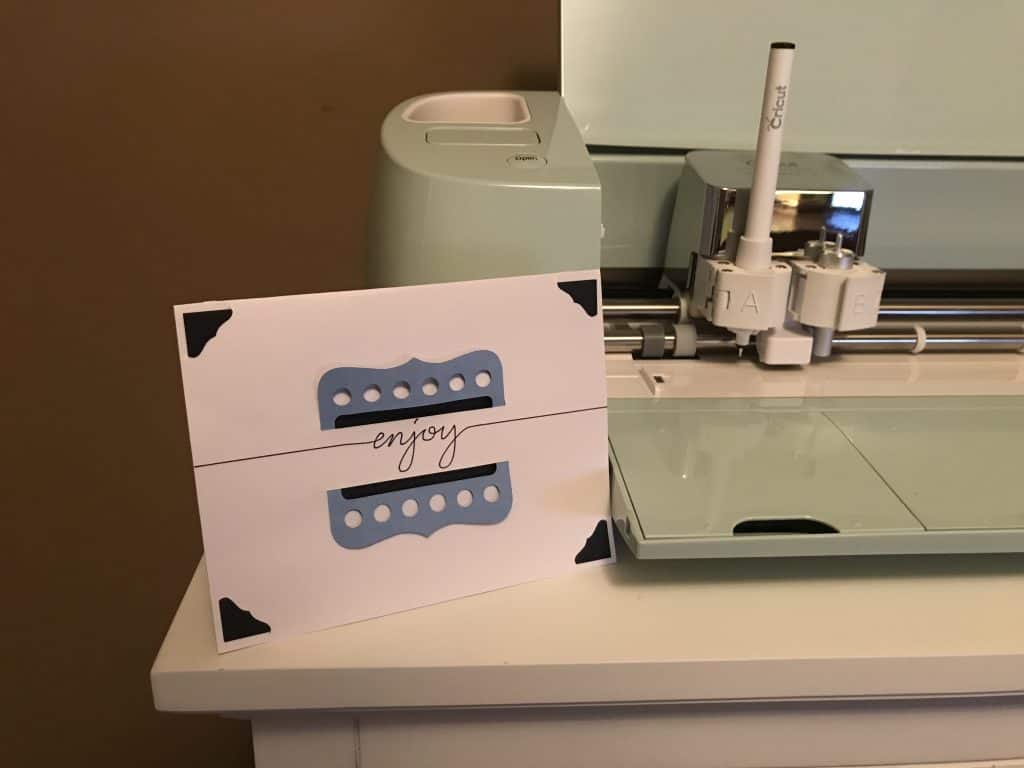
3. Make your first Cricut tutorial card (Enjoy Card) to learn how it works! It will walk you through setup. It shows you how to cute and write using your machine! It is a really good first tutorial that will start to get you comfortable with your machine.
4. If you choose to not use the USB cord to connect it when making this, you can turn on the power on your Cricut and connect it to Bluetooth.
You have Cut, Print, and Scoring:
- You can make anything by cutting out your design using any of the Cricut Blades. As of now, I have only used one standard blade. They do have many blades you could shop for!
- You can print by using any of the colored markers, I also learned that the skinny Crayola markers work too but you have to be careful where you put them because you can’t just snap them into your Cricut Air. You can get a marker and mark the line on how low the marker needs to go though! That can save you some money on many designs!
- What in the world is Scoring? You can get a Scoring Stylus Tool if you are making Pop-Up Cards and need to know where to fold your cards at then the Scoring Stylus will help you with that!
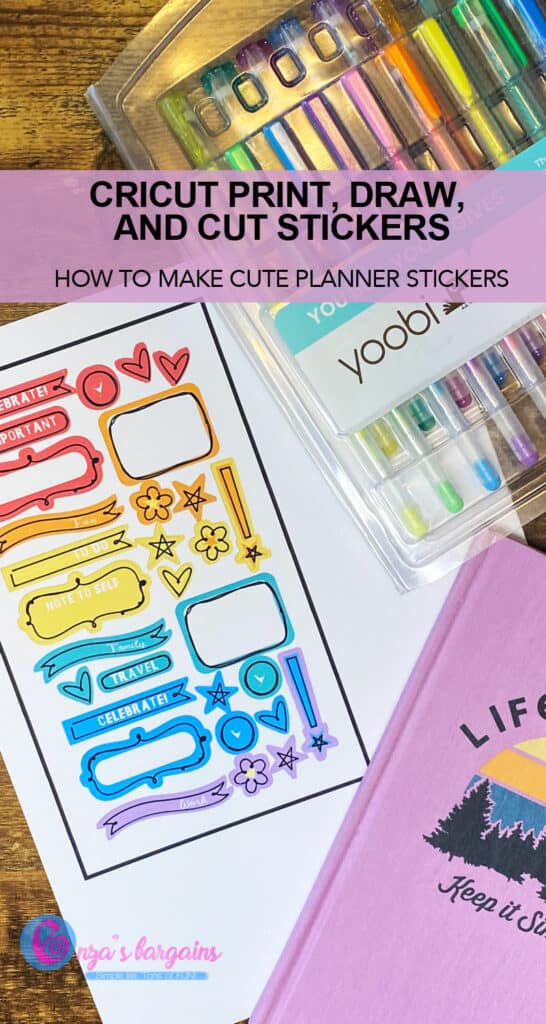
Here are some cute little stickers that I used Print, Draw, and CUT:
Using Cricut Printable stickers like the ones I did with Baby Yoda, your designs and ideas can be endless!
Type of Material You Can Use in Your Cricut:
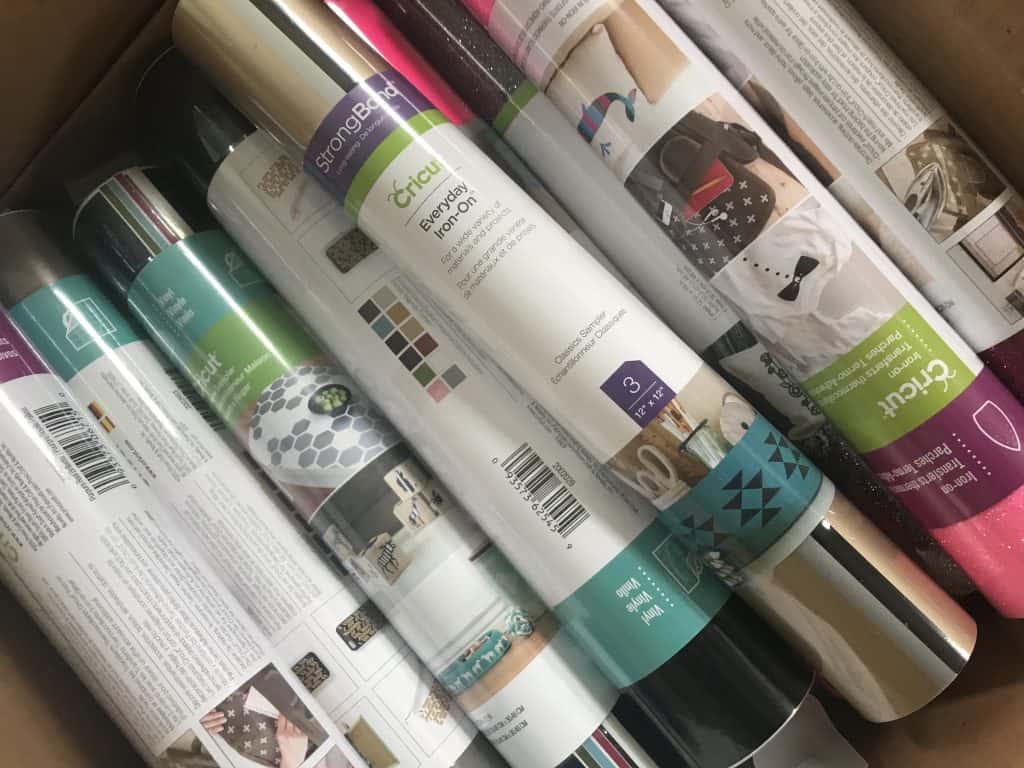
You can use many items that you might already have from cardstock to fabrics. What I was planning on using my Cricut for mostly is for shirts, iron-on, and vinyl decals!
Let’s start with Vinyl. Vinyl is great for making stuff to put on mugs, pictures, laptops, wall decals, and more. BUT there are different types of Vinyl!
Regular Vinyl is usually semi-permanent. It is best for solid surfaces and to be used on items that probably won’t get wet. It is best for decorating indoors.
Permanent Vinyl is best for outdoor use, mugs, glassware, anything that will have to stand up to water, etc…
Heat Transfer Vinyl/HTV/iron on is only sticky once the heat is applied to it and is best for fabrics. You can use this Vinyl actually on fabrics!
Infusible Ink is one of their newest products and one that I actually like the most. What type of materials you can infuse on is limited but just check out Cricut’s new blanks that you can infuse and then purchase their transfer sheets.
***All Vinyl should use Contact Paper to apply it! Unless you are doing one solid silhouette where everything is connected (probably more rare than you think) then you definitely want Contact Paper.
Iron-On: Iron-On rolls are to be applied to the fabric. You want to read the instruction for each Iron-On. I learned that the Iron settings and times and how to apply them have been different for each type of Iron-On I have been using. I also learned that some Iron-On is easier to layer but you don’t want to layer too many at one time. You can not layer glitter iron-on (which is my favorite)!
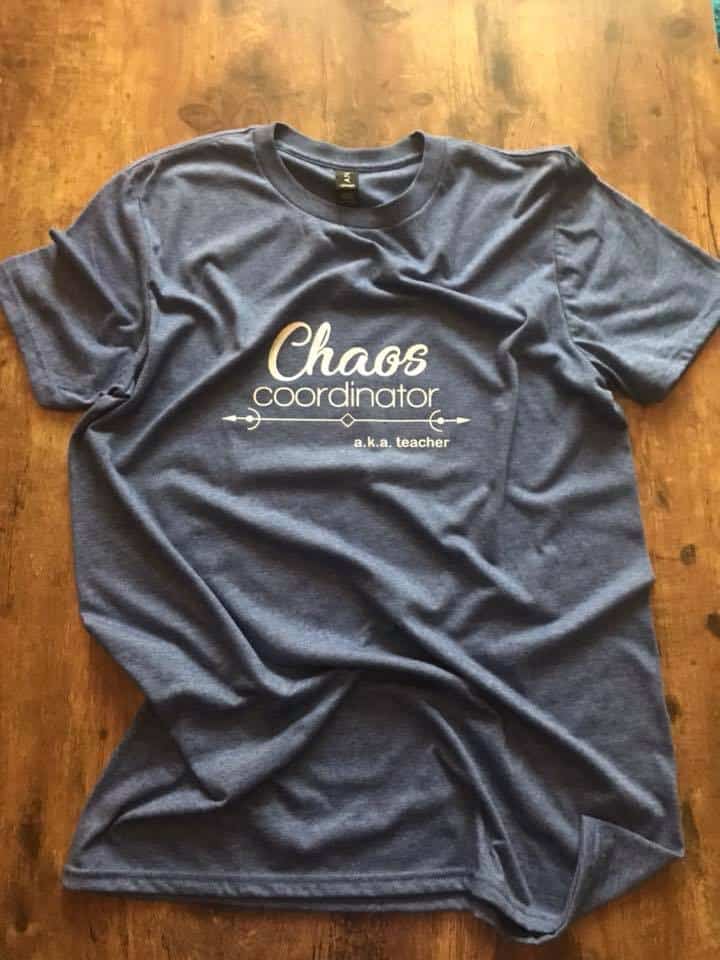
***If you plan on layering any Iron-On…for instance if you are making a solid color circle and wanted to add a word with another color over the circle without piecing it together like a puzzle, you need Teflon paper to put around each layer when ironing.
Cricut Learning Curve:
I am still on that learning curve. Be sure you practice a lot. It look a lot of different tries when I was trying to iron on a makeup bag. I also learned that some fabrics can’t be used in specific iron settings.
While learning the dollar store and Walmart should be your best friend in finding materials and stuff to create!
Join Facebook Cricut support groups to ask questions, get ideas, and share your designs! Like any new hobby, finding a similar hobbyist is definitely fun!
Watch this fun video of the machine at work:
Sally Wilsey says
Thank you so much for this information. My husband got me one of these and i am so scared to use it. After reading your article I now have the courage to attempt this.