The level of excitement that I have seen for the Cricut Mug Press machine is overwhelming! I am in love with this product and I am so excited for you to try it too! I have been using Infusible Ink over a year and a half and it is my favorite look for a final project. Today, I wanted to share the new and easiest way to create a DIY Infusible Ink Mug with Cricut’s newest product, the Cricut Mug Press. This is a sponsored post and all opinions are my own. This post contains affiliate links. That means at no cost to you, if you happen to make a purchase we may earn a small commission.
DIY Infusible Ink Mug
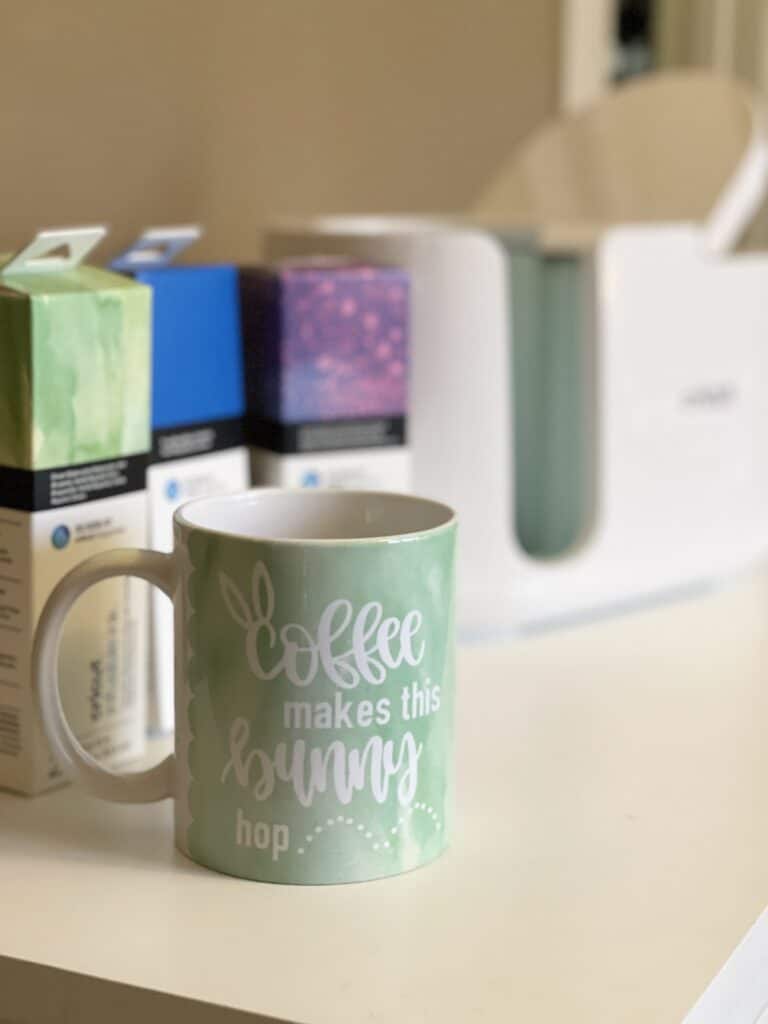
I am going to walk you through how to make your first DIY Infusible Ink Mug. In this project I made this cute Spring Inspired Mug to use as a teacher gift, and decided I needed it for myself too. After all, I am also a teacher!
What you need from Cricut:
Cricut Mug Press or Cricut Mug Press Bundle
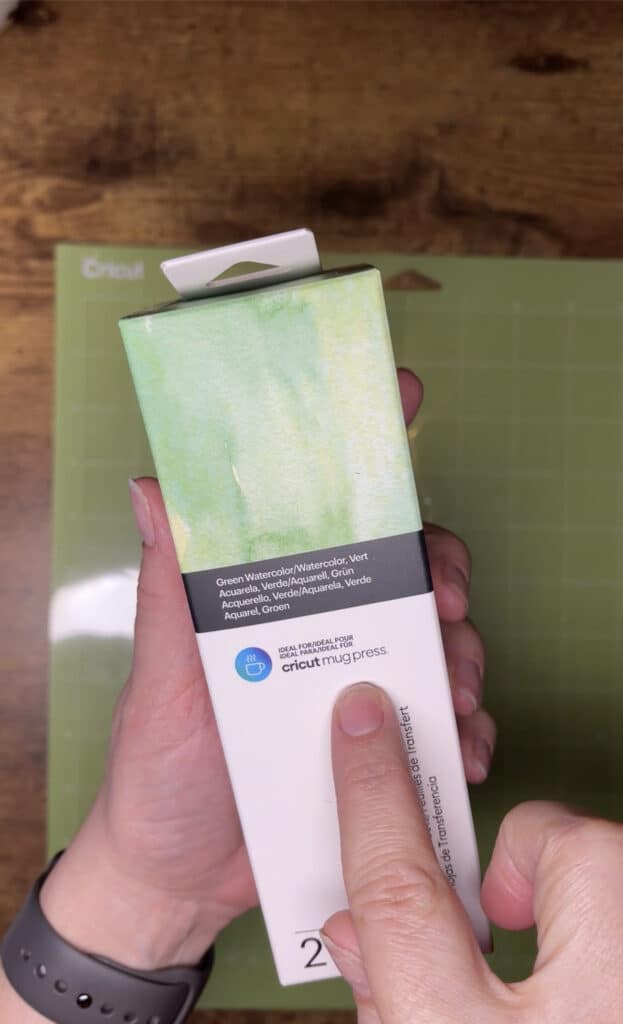
Infusible Ink Transfer Sheets
Cricut Mug Blanks
Infusible Ink SheetsInfusible Ink Pens and Markers
Heat Resistant Tape
What you might have at home if you decide to do Markers/Pen design.
Butcher Paper (only need this for markers/pens)
Laser Copy Paper (only need this for markers/pens)
- Using a USB register your new Cricut Mug Press to Design Space! Easy step by step tutorial.
- Grab a Design Space project that you like. I am sharing my Bunny Project link here for you to use if you like it! Don’t forget to tag me if you use it!
- Using one of the Cricut Templates be sure you are using either the 12oz mug or 15oz mug sized template. (Go ahead and turn your machine on now so it can heat up.)
- Design your mug, hide the layer guide that is set up to help you center, and then use the “Attach” button before cutting.
- Now you are ready to cut, don’t forget to mirror your image, choose Infusible Ink Transfer sheets, and cut!

- Center your design around your mug after weeding it. Get all the bubbles out and tape the edges down on the top and bottom just to get a more secure attachment. I have had a perfect transfer every time and I have taped top, bottom, and around the handles.
- Your Cricut Mug Press should have a green light turned on and all you need to do is place your mug in it. Be sure the handle stays centered as you close the lever. The five lights will light up and beep when it is ready to be removed.

- Once your machine beeps, remove your mug by holding it by the handle, place it on a heat mat or towel until cooled.
- Once cool peel to reveal your new mug!
About the Cricut Mug Press Machine
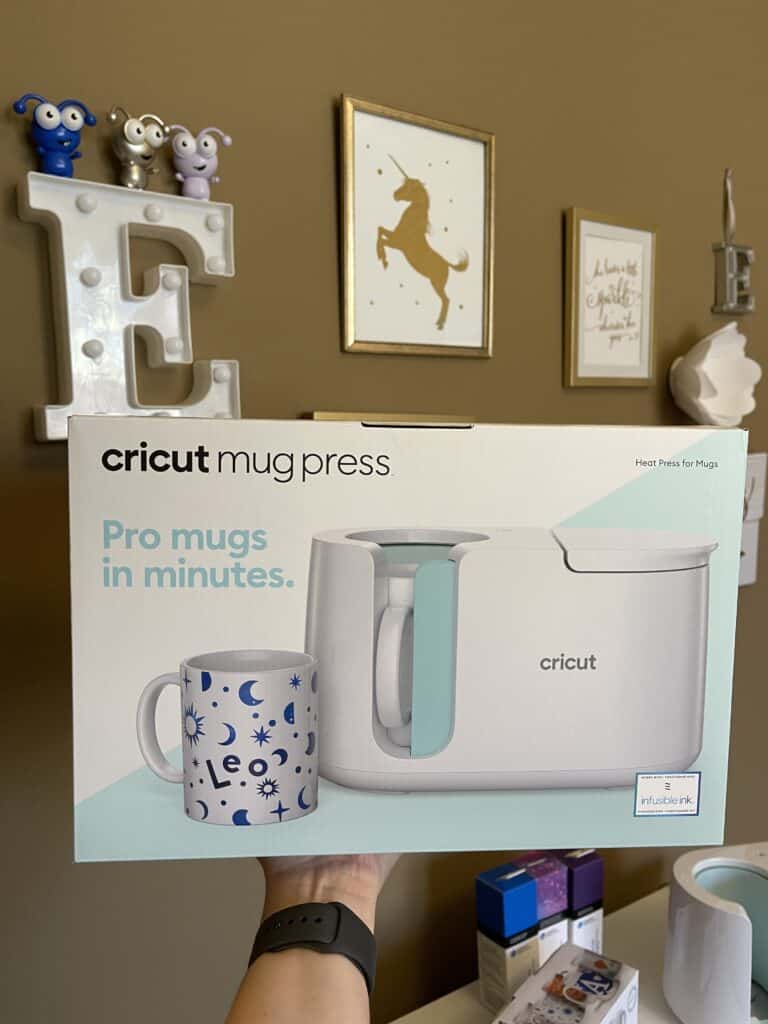
The Cricut Mug Press is the newest machine to Cricut’s line up! It is small and mighty for sure and pairs with the Cricut already incredible line of bright colors of their Infusible Ink Transfer Sheets and markers.
What questions do you have? Ask below, and let me help by answering! Visit Cricut.com today.
@enzasbargains Tell me what you think at the end! I am obsessed! Check out the new ##cricutmugpress from @officialcricut ##CricutMade ##Sponsored ##DIY ##Craft ##linkinbio


