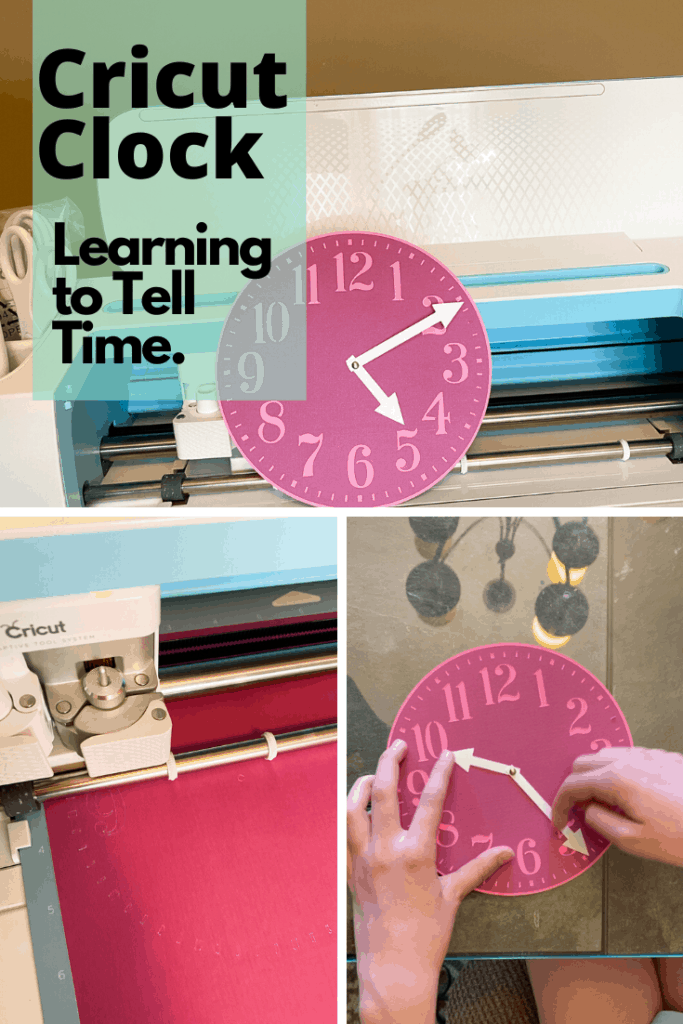
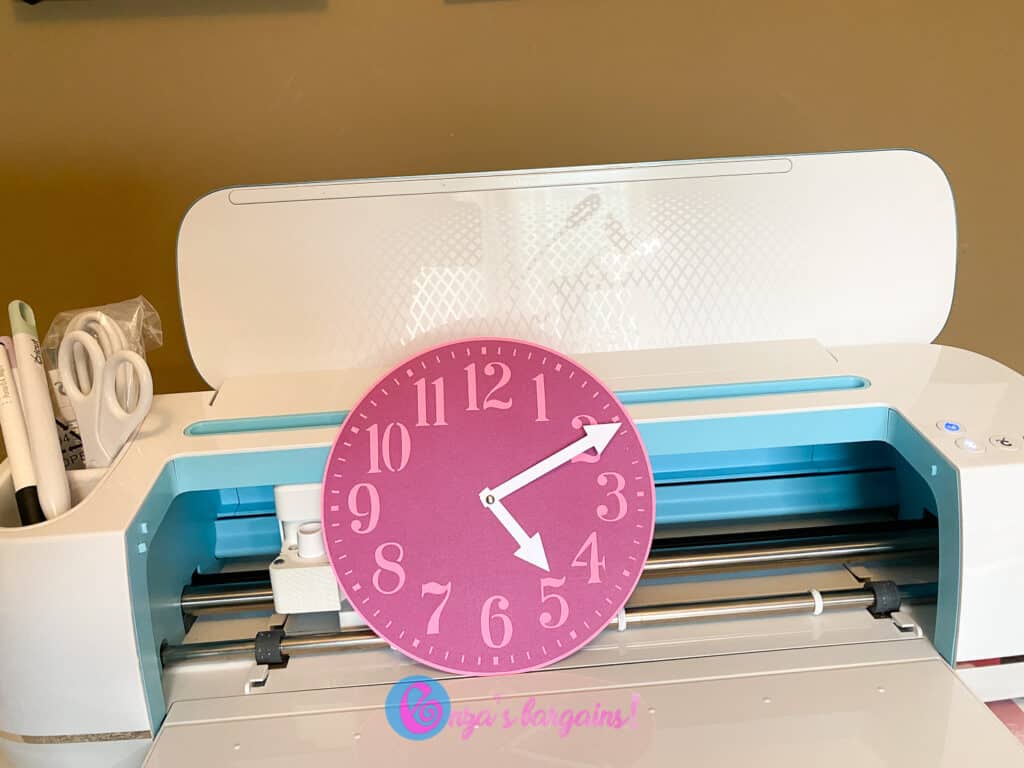
If you are looking for a Cricut Learning Clock File we have one that you can use. Crafting projects have changed just a bit when I felt like I became a 1st and 5th grade teacher overnight. Virtual learning had made me what felt like a substitute teacher. Be sure to share your Cricut Learning Clock projects you make with us on social media by tagging us! At no cost to you, this post might contain affiliate links.
How to make a Cricut Learning Clock
If you are looking to teach your kids time this clock is a great start. We also have a clock rush hour game we shared that is a lot of fun and very popular. The game is about teaching kids how to tell time! You can actually play the game with these clocks or purchase the ones wee suggested in the game.
If you are looking to make a class set, I would fit 4 clocks on a 12 x 12 cardstock page. You will need to have two sheets for every 4 clocks. Plus all of the hands could be cut on one cardstock sheet. If you are teacher, I’d make ONE big one on a 12 x 12 for your class!
If you don’t own a Cricut Machine and are thinking about it, we made a clock rush hour game that includes the must have items when you are just starting.
You will need:
Cricut Maker or Cricut Explore Air 2 Machine
Ream of Cardstock Paper Any Color
Scoring Wheel or Scoring Stylus Tool
Cricut Scraper
Glue
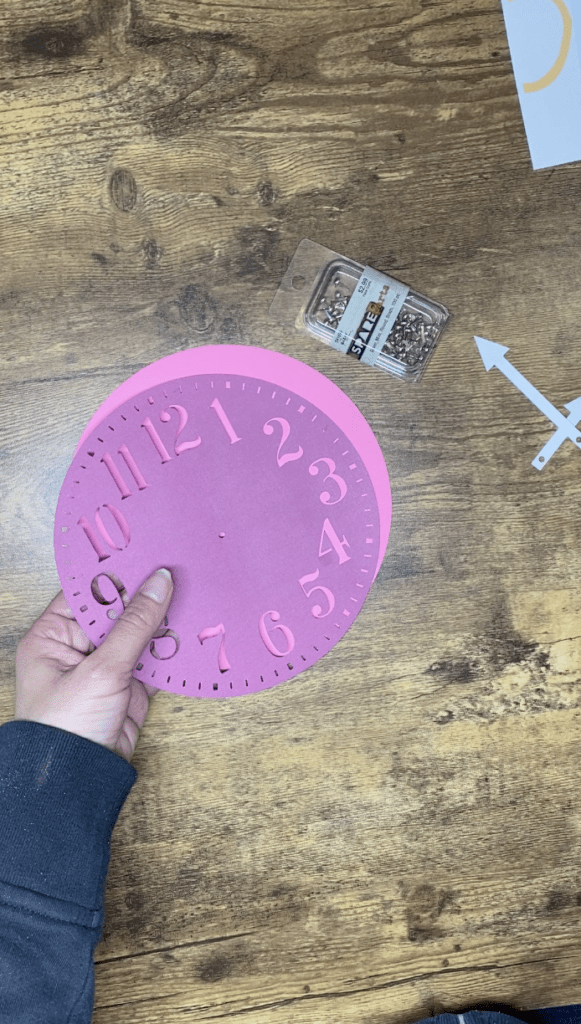
We used a free clock file and edited to add the arrows and the holes in order to connect them. You can find our Cricut file below.
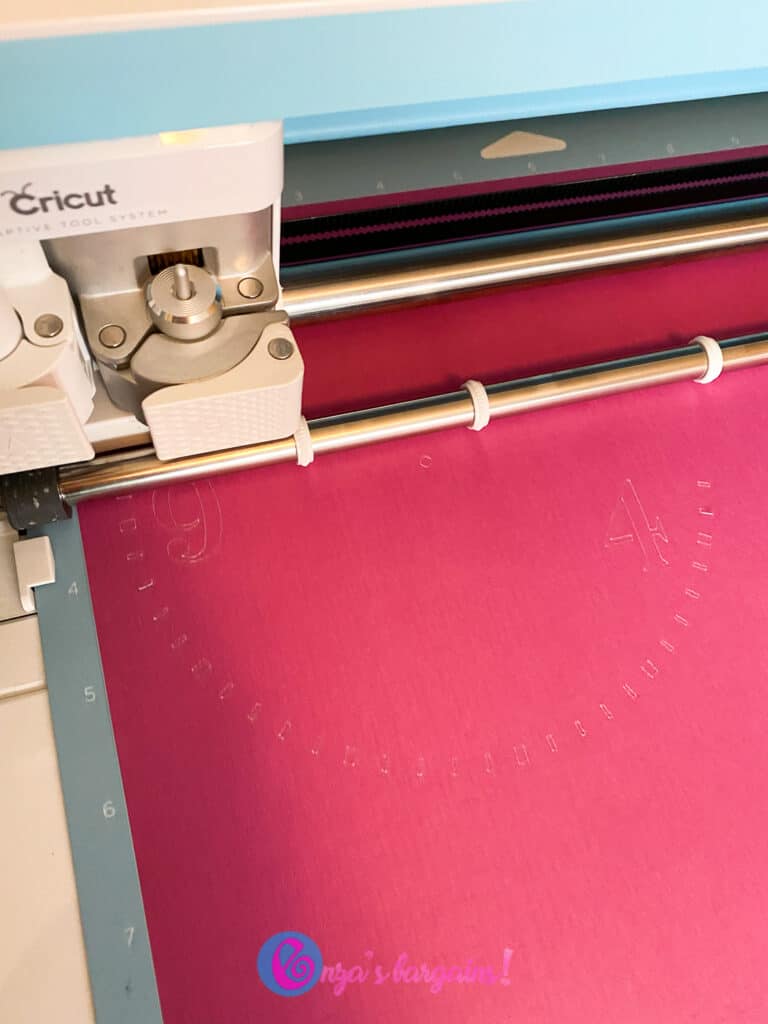
You will want to use your Cricut settings for “Intricate Cardstock” setting because of all of the little dashes. Cut the background, the clock, and the hands on three different colors.
Combine them together to make the clock using a metal brad.
Here is thee Cricut file you will want to use. If you have Access all the files should be free.


